


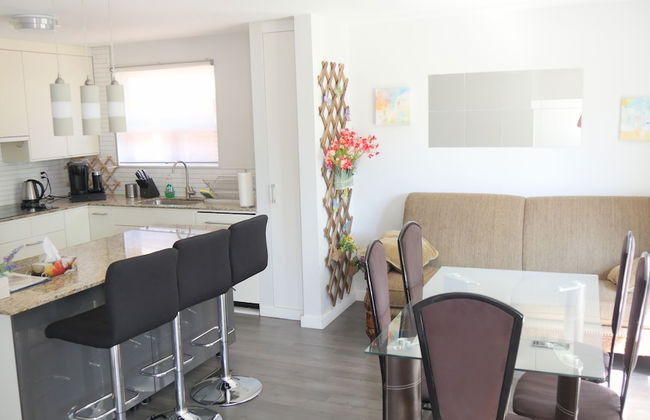


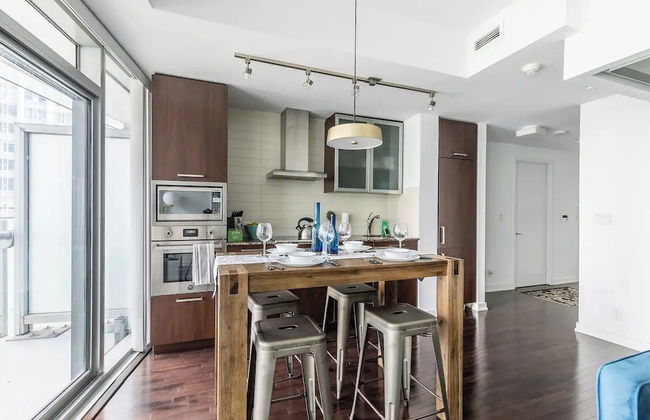
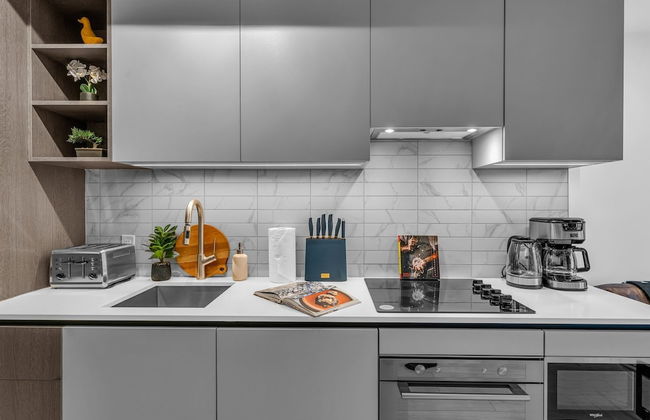
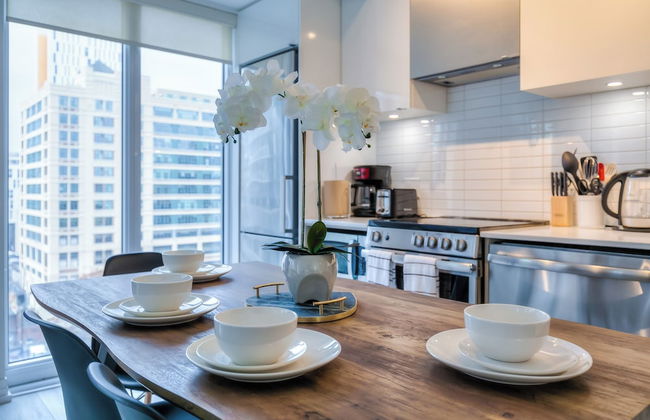
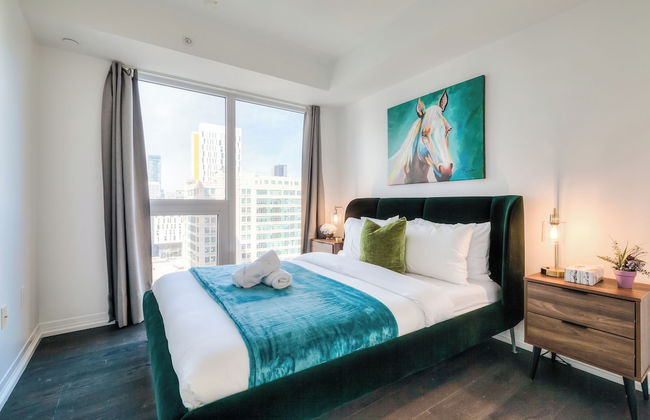
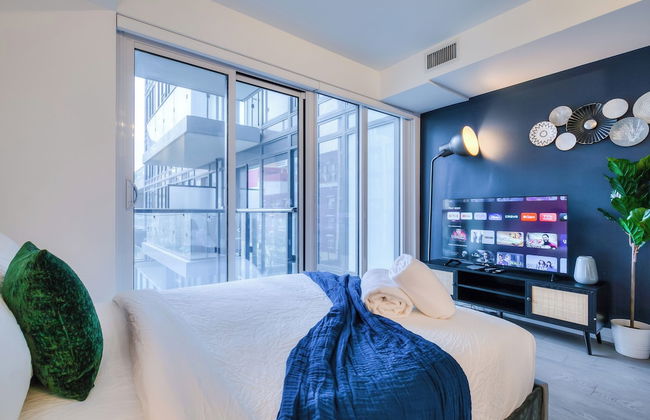
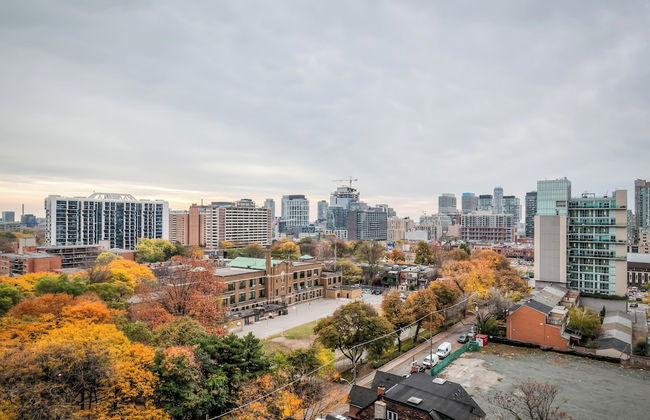
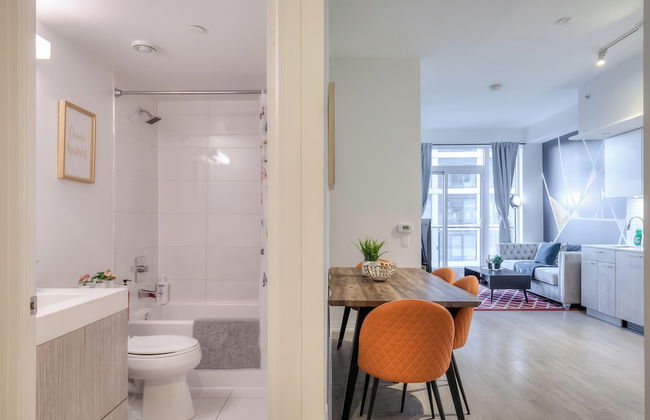
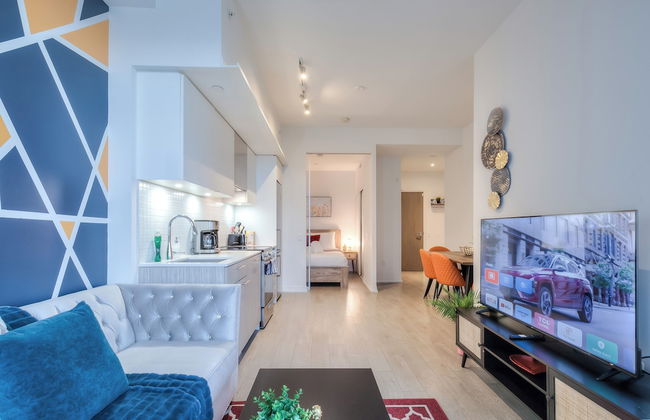
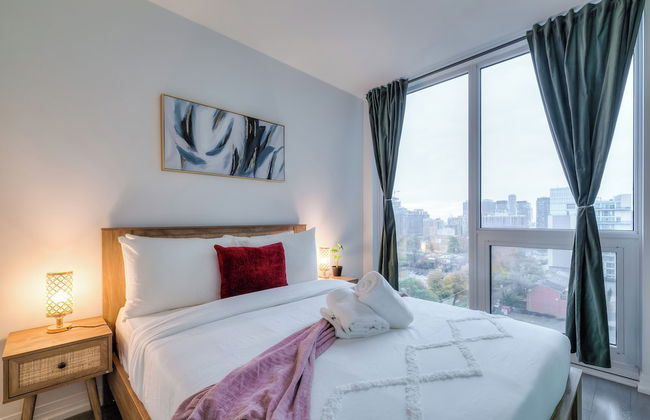
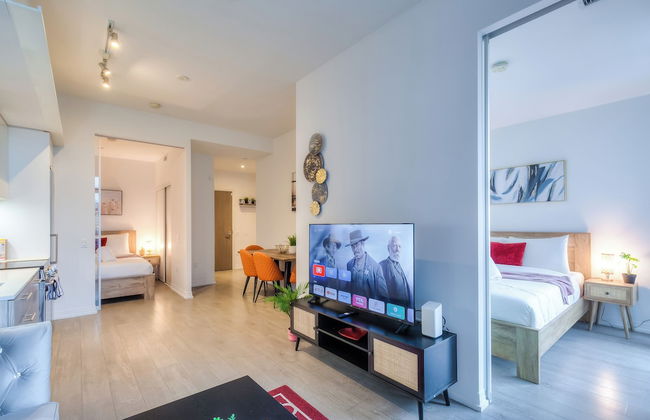
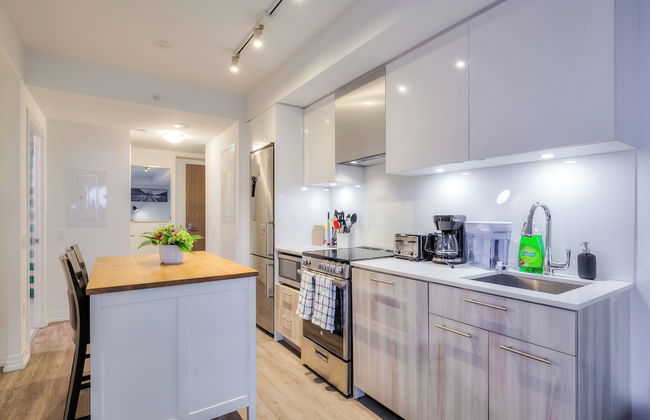
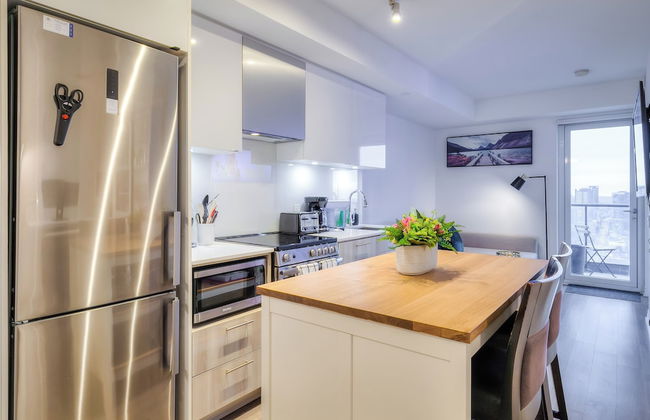
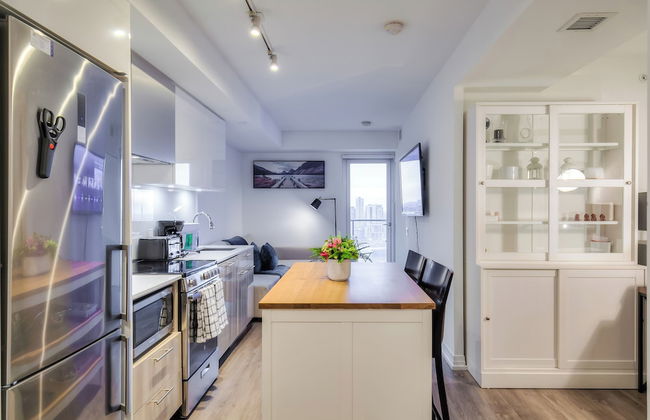
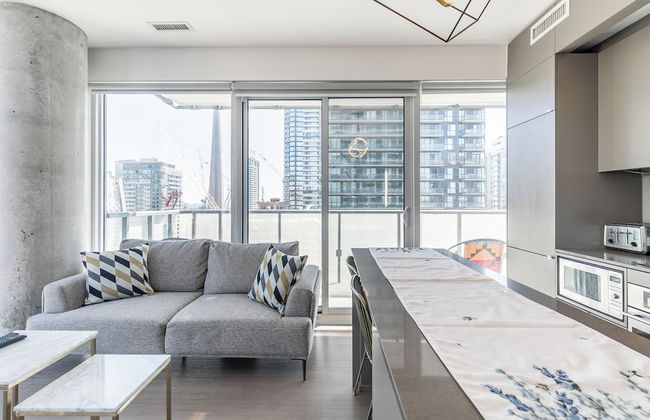
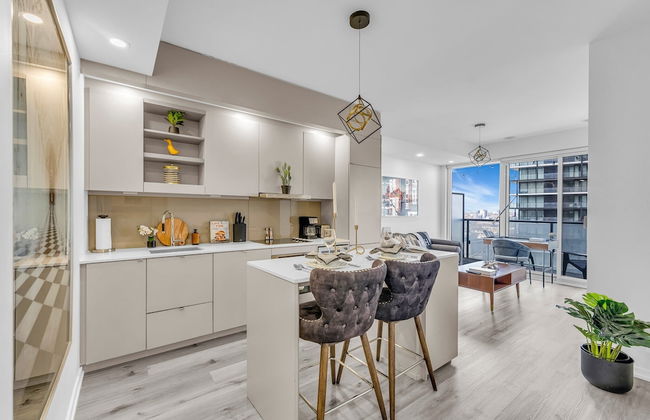
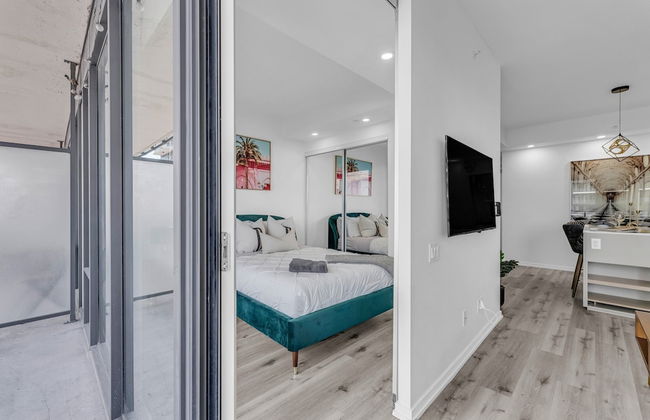
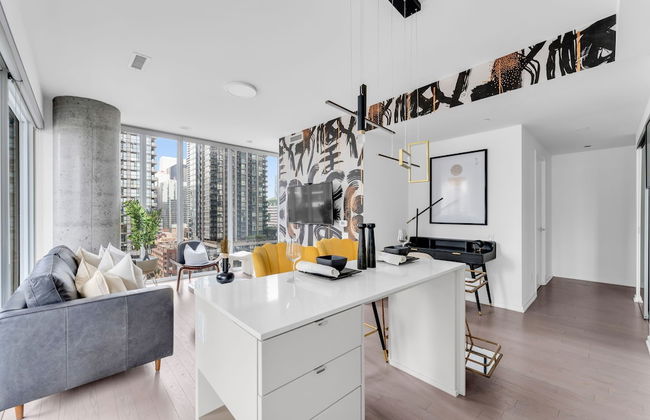
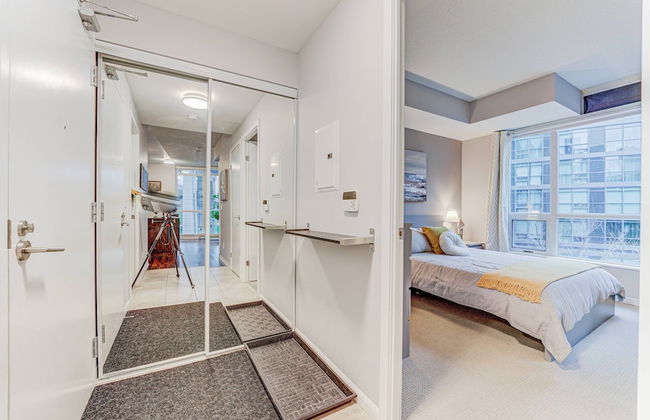
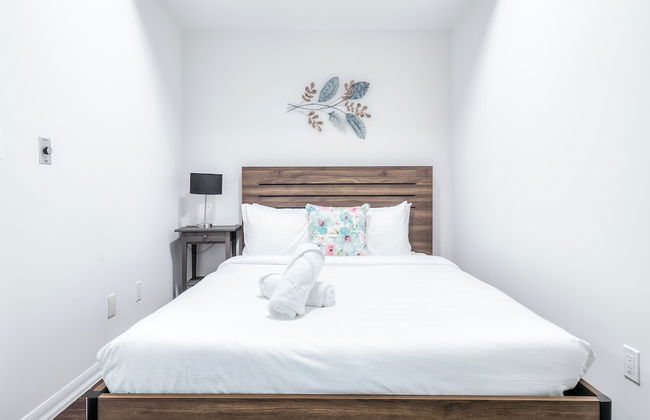
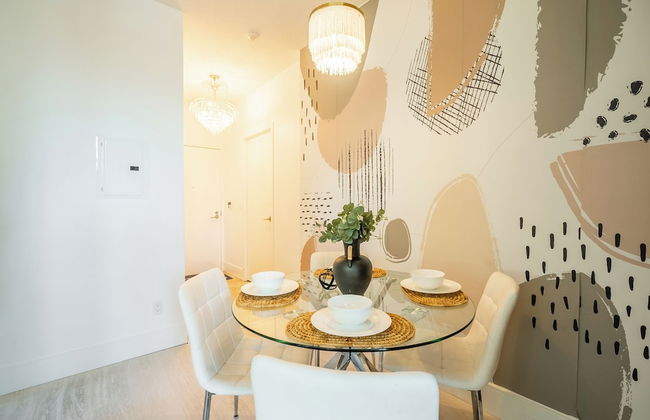
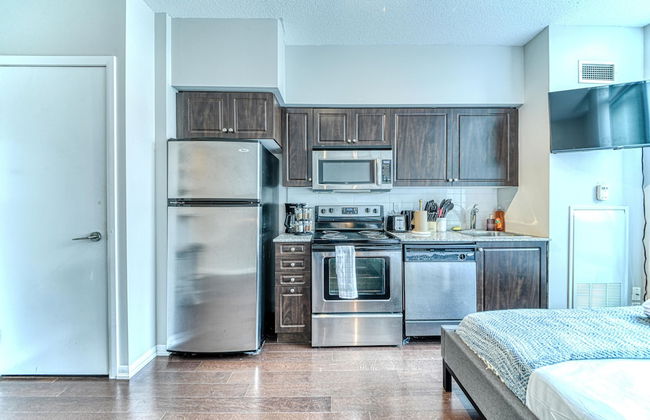
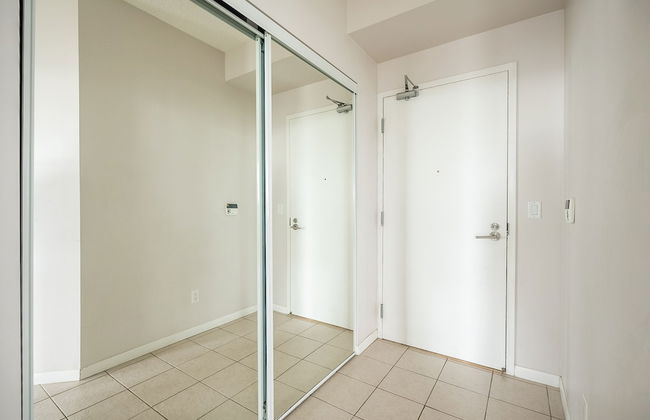
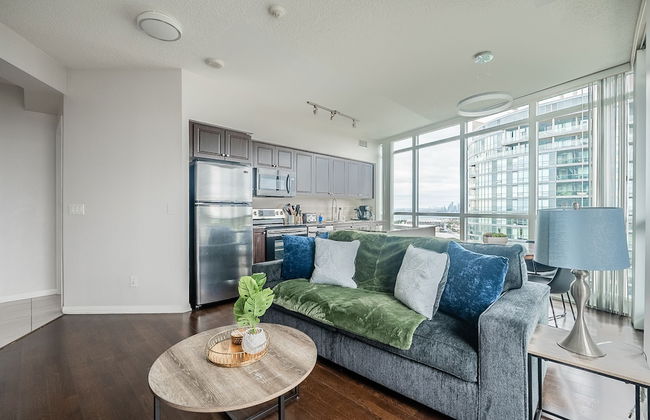
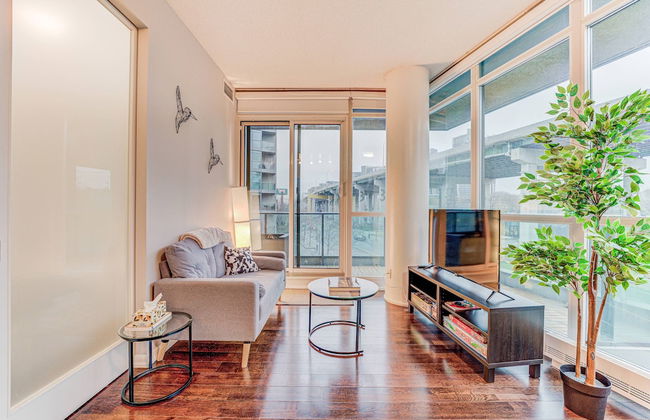
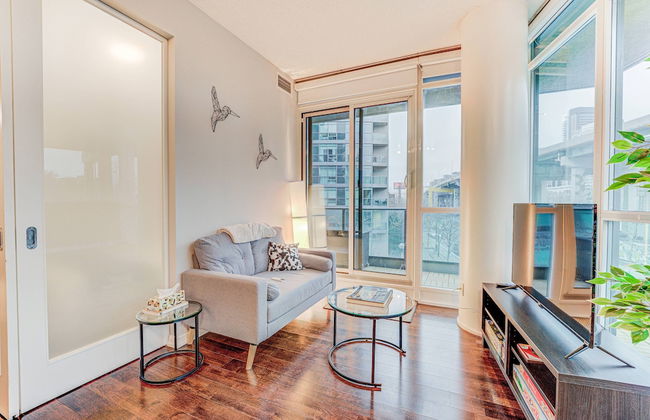
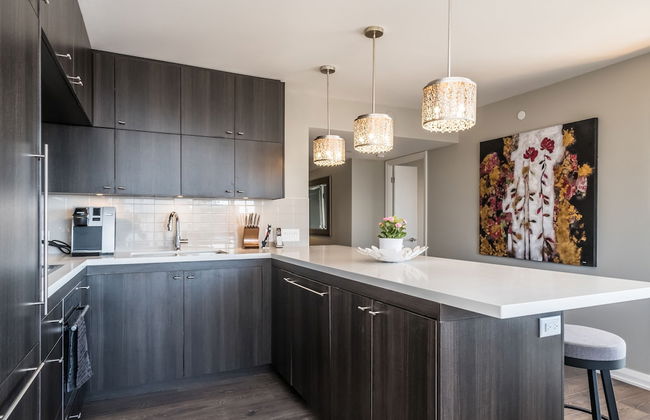
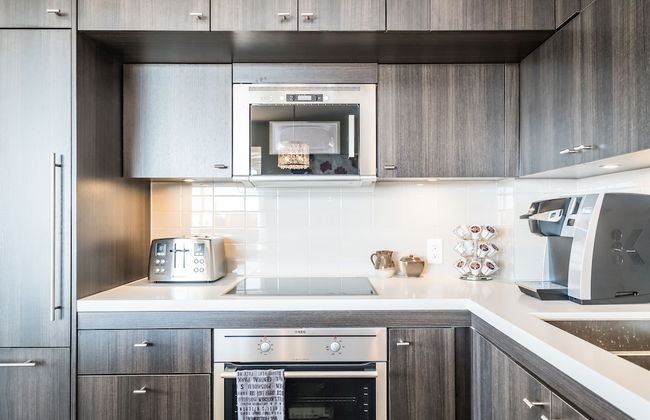
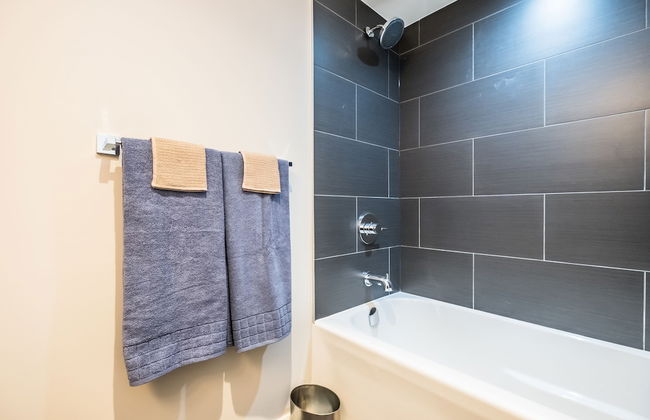
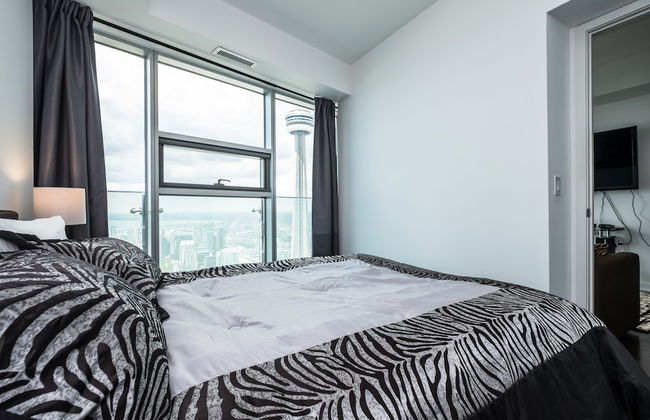
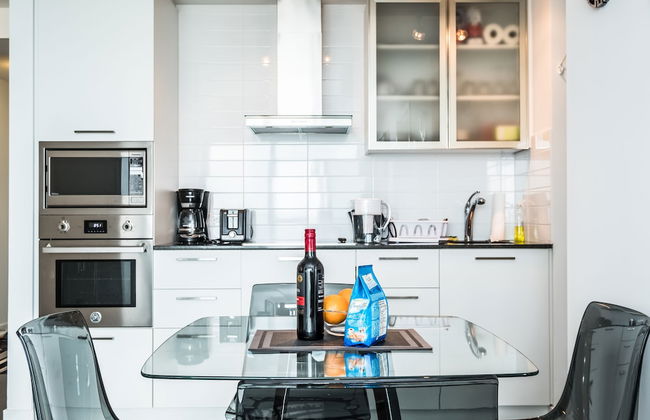
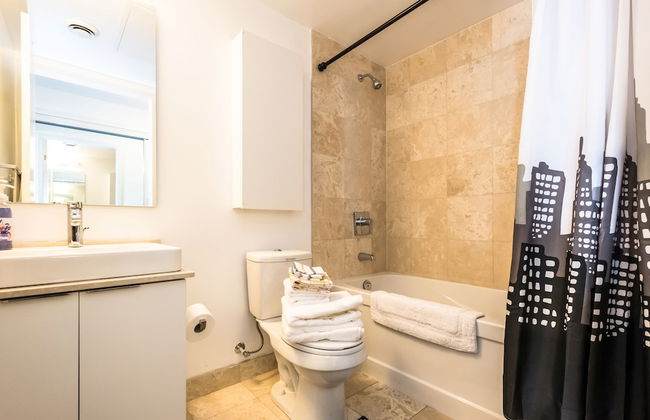
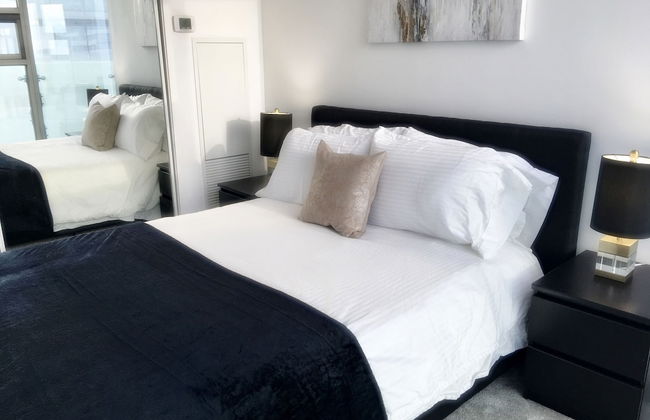
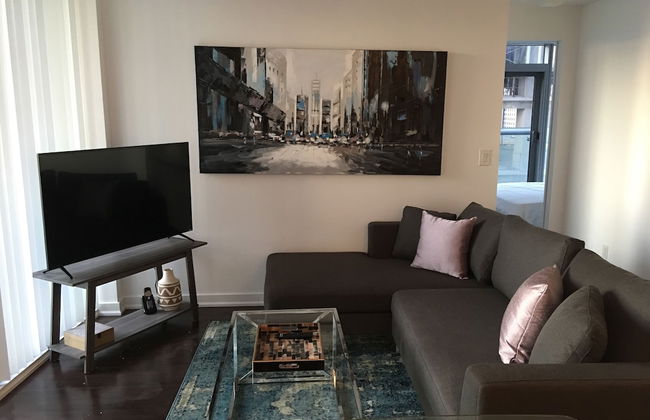
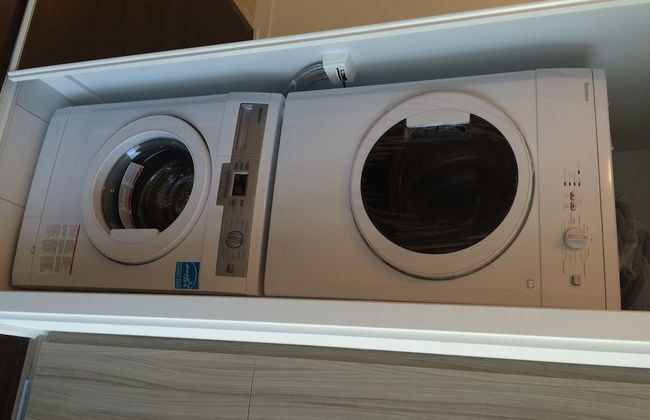
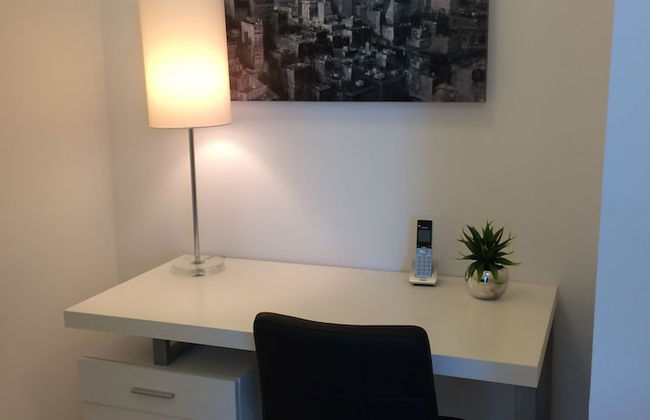
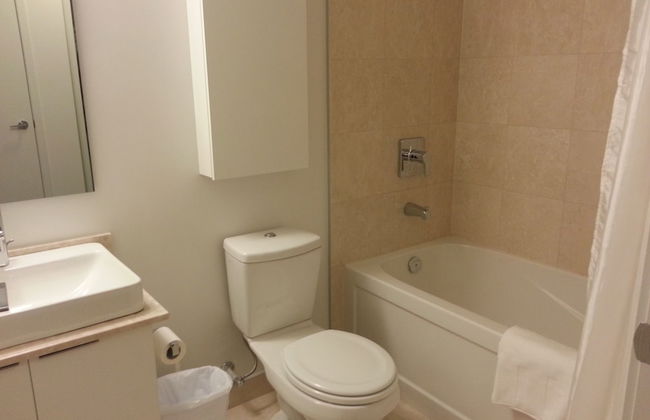
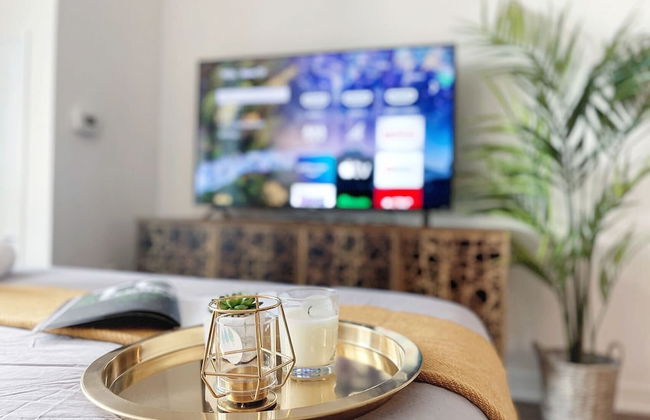
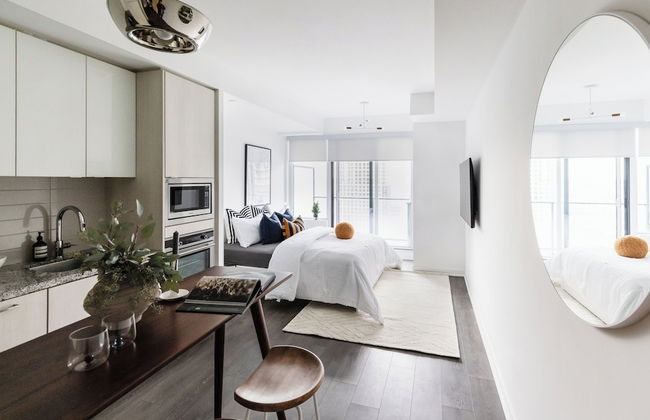
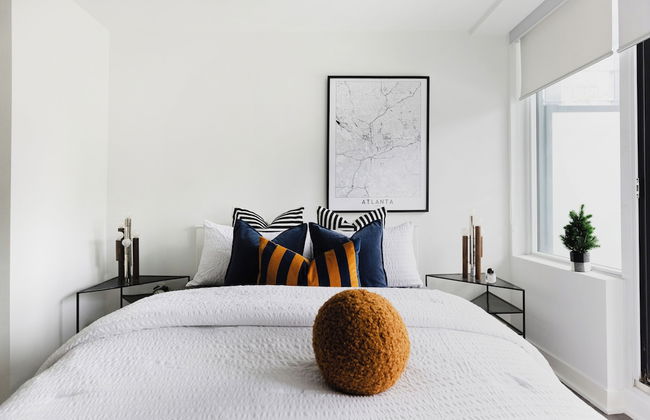
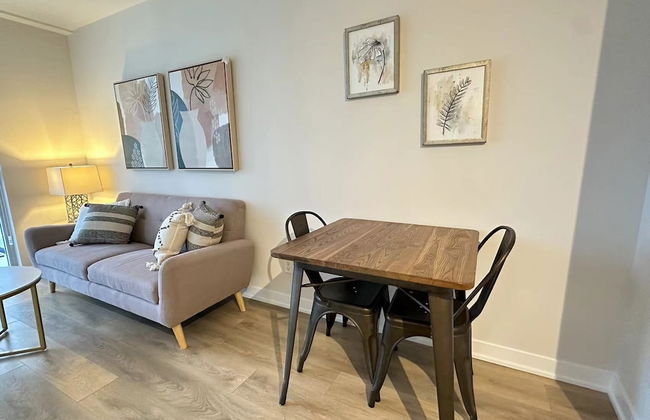
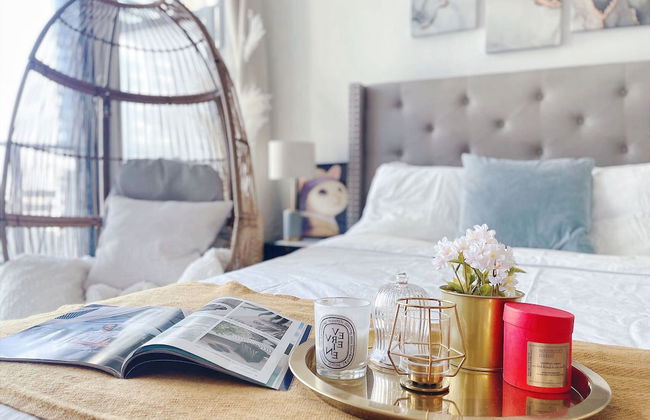
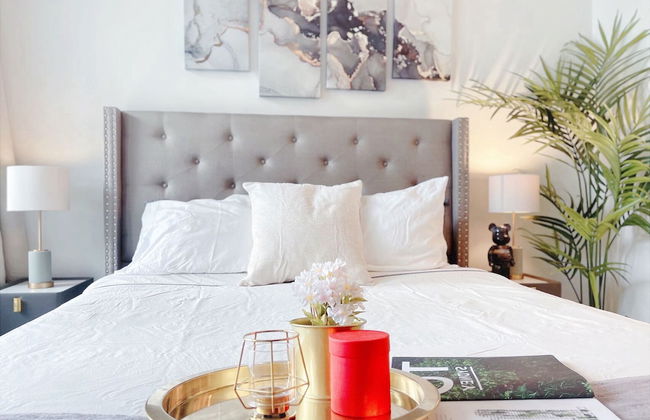
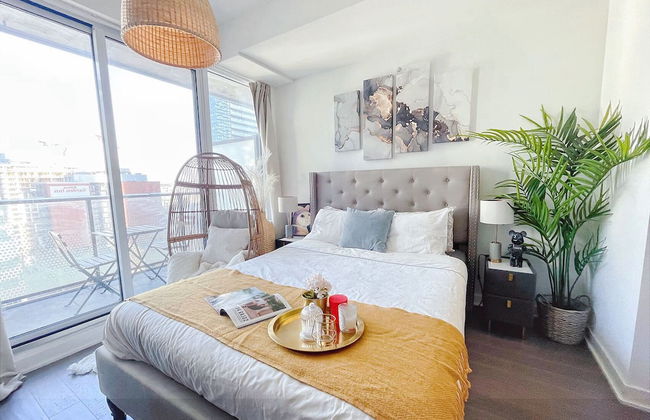
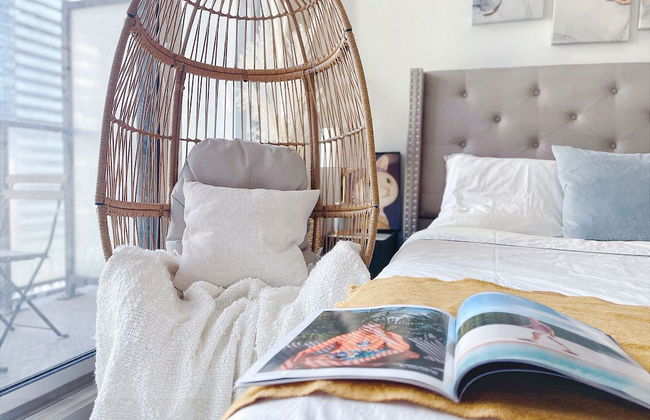
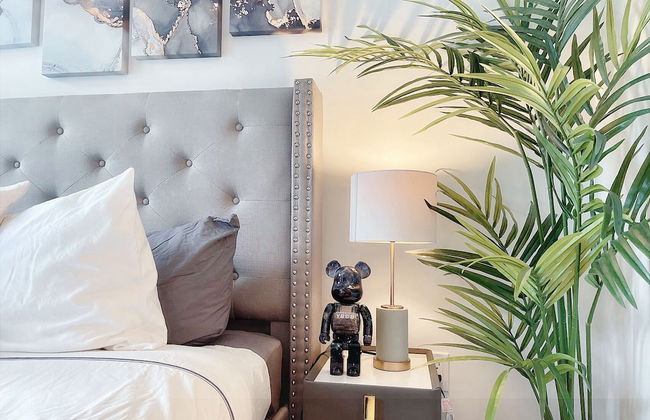
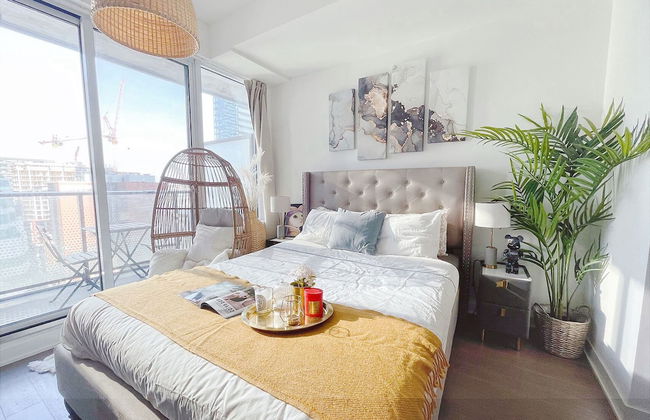
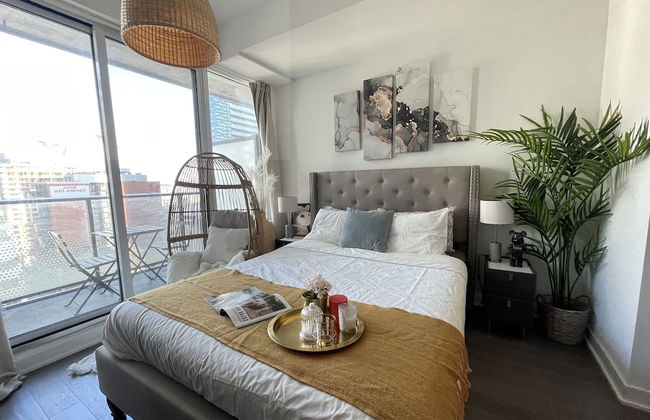
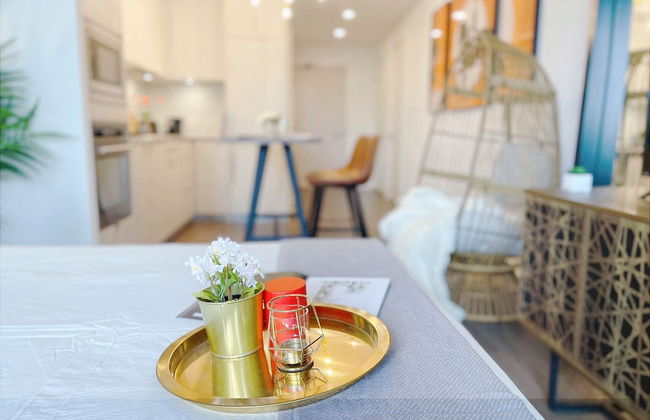
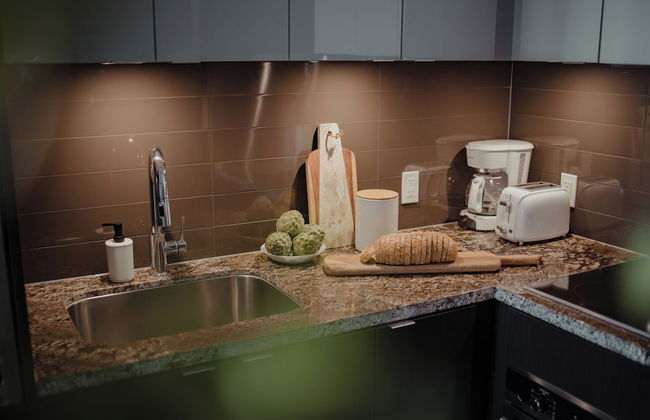
Richview Gardens Suite
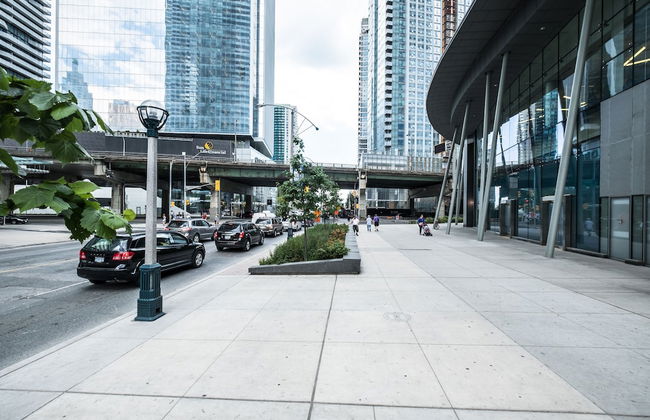
Toronto - The Westway - A 13.7 km del centro
- 101 M2
- 6 personas
- Aire acondicionado
- Calefacción
- Terraza
- Parking
- Ascensor
- Jardín
- Televisión
- Barbacoa
- Toallas
- Sábanas


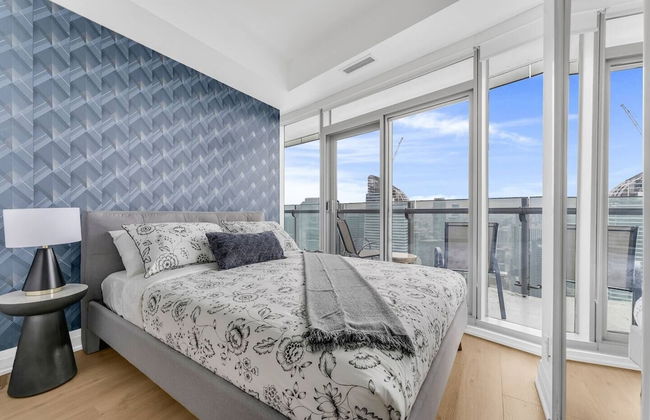
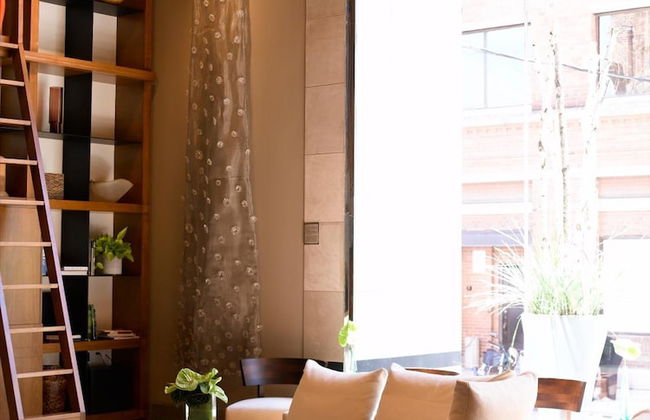
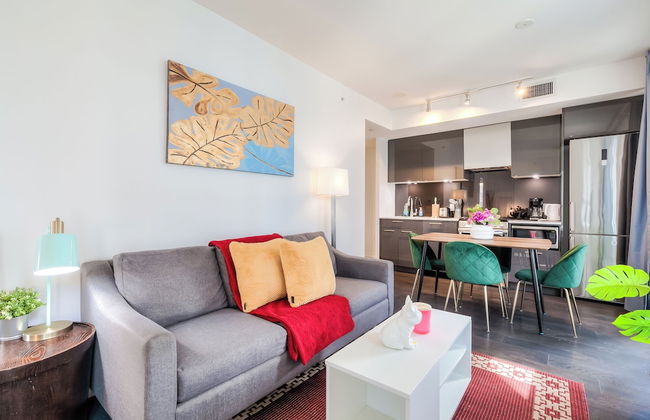
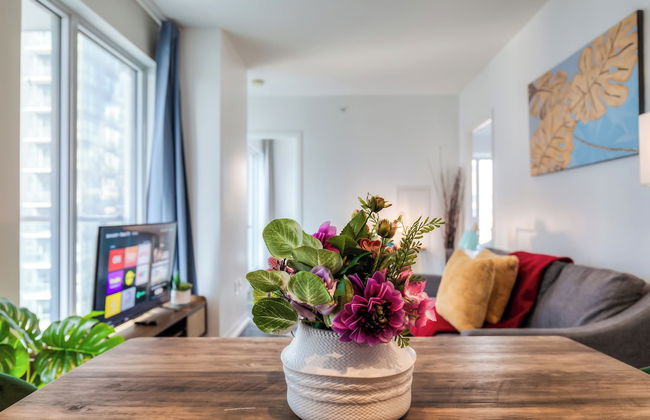
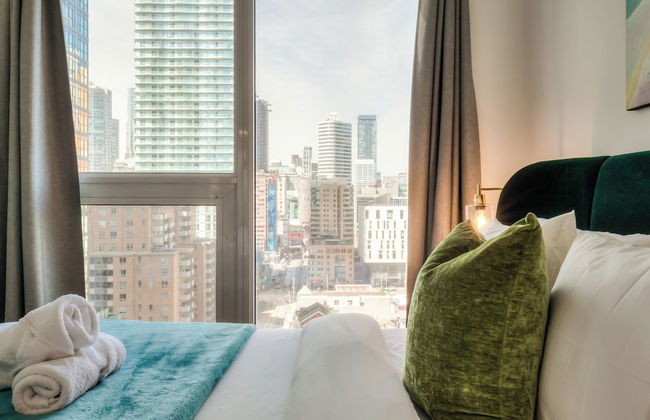
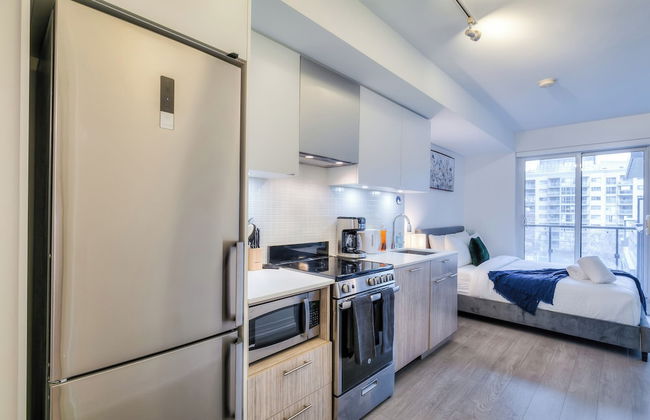
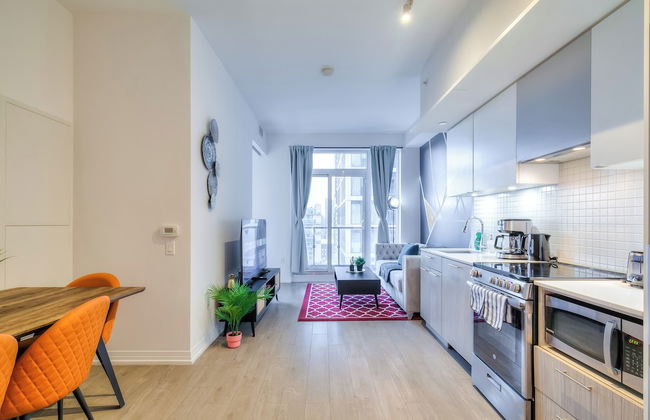
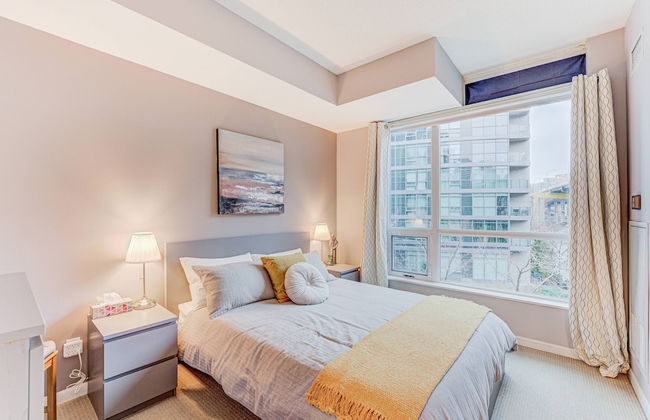
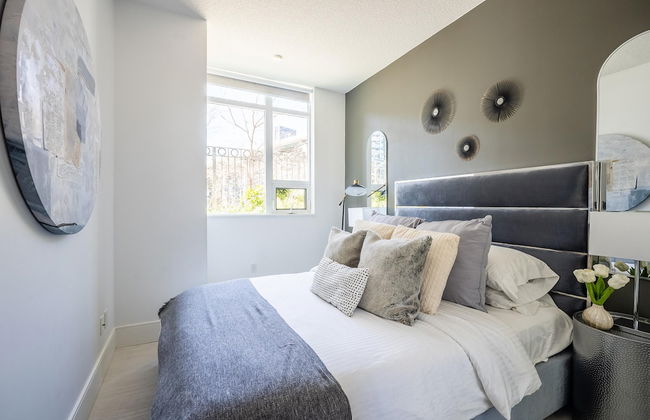
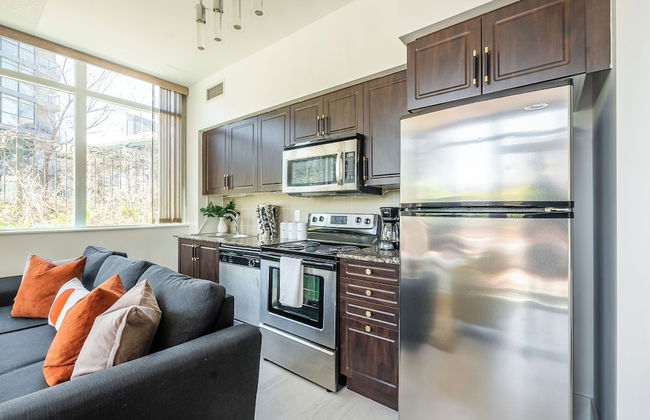
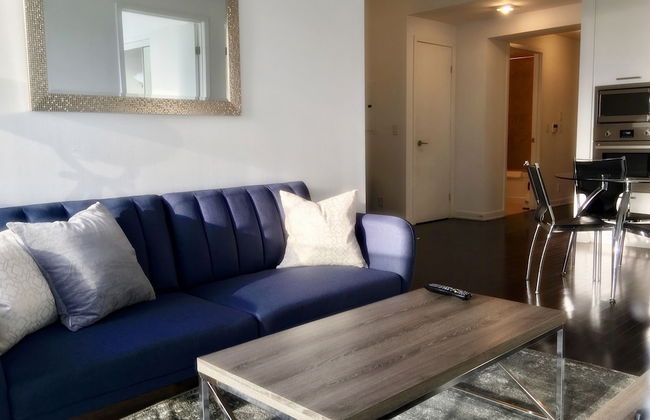
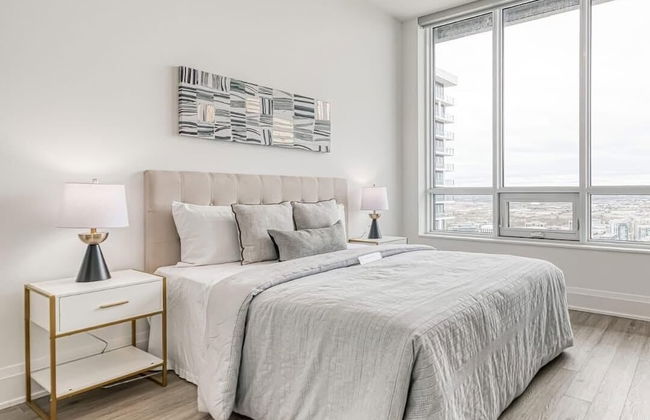
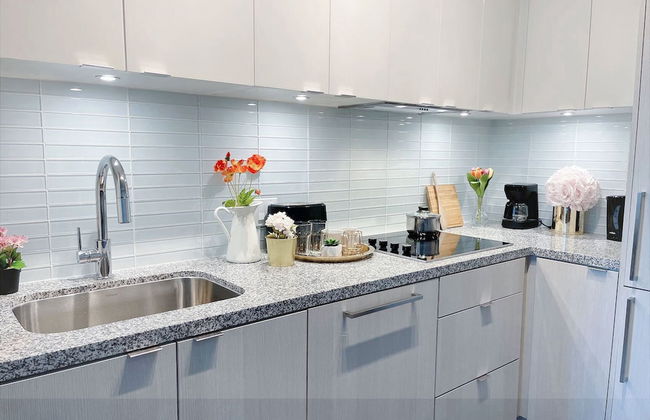
Adastay Suites Toronto
Toronto - Church-Yonge Corridor - A 230 m del centro
- 4 personas
- Aire acondicionado
- Calefacción
- Ascensor
- Televisión
- Toallas
- Sábanas


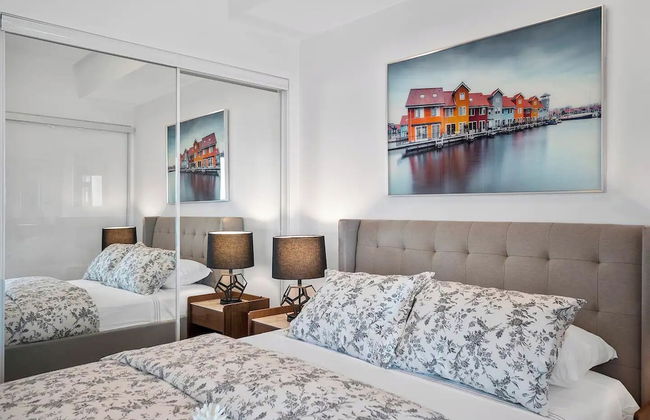


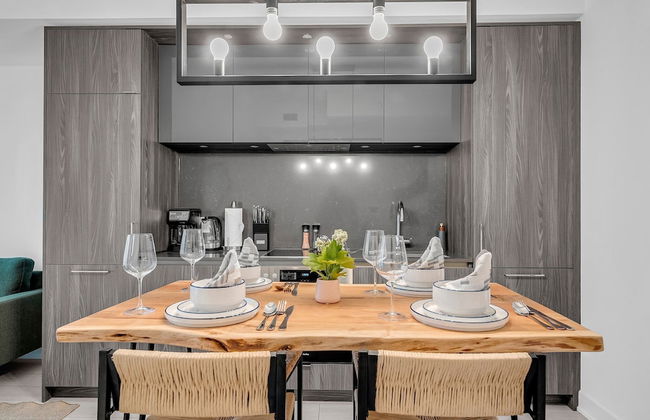
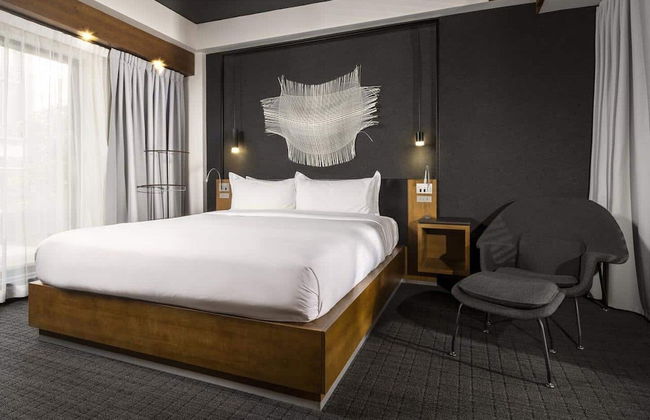
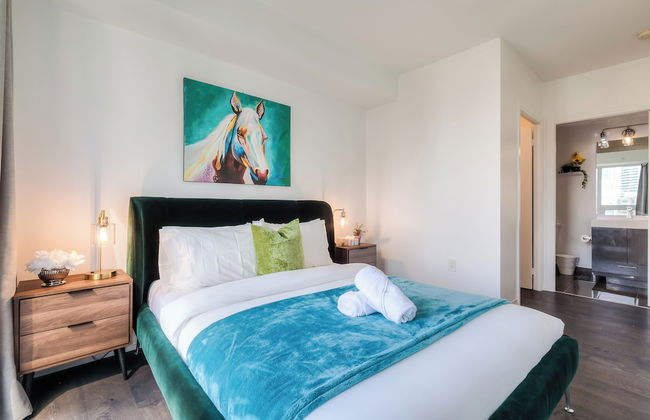
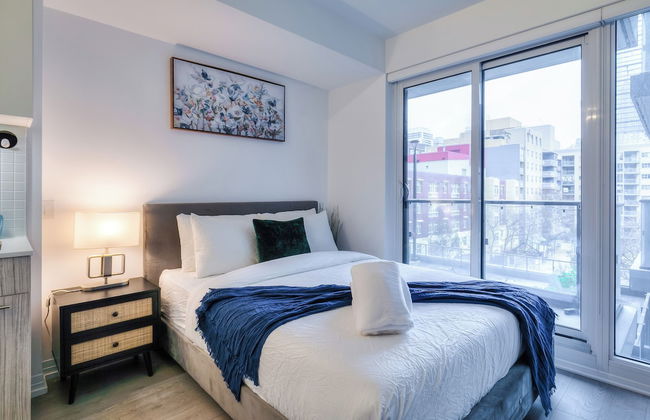
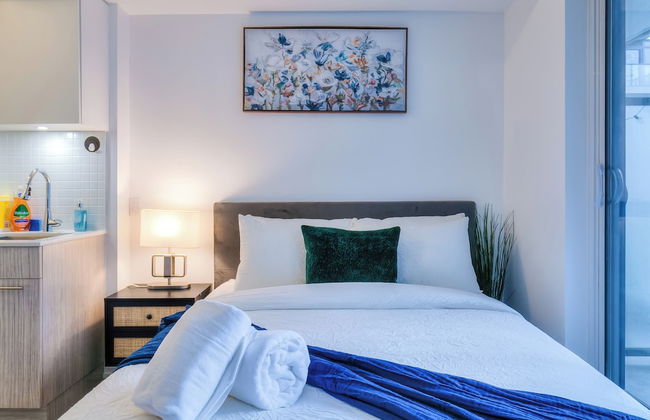
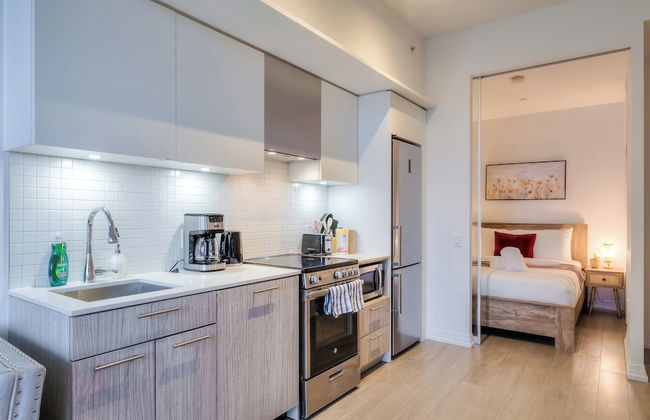
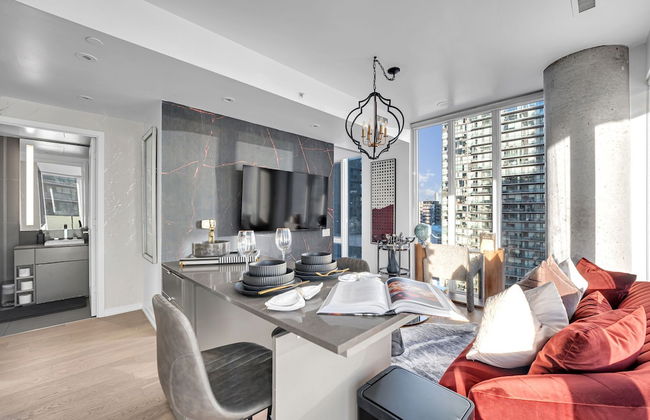
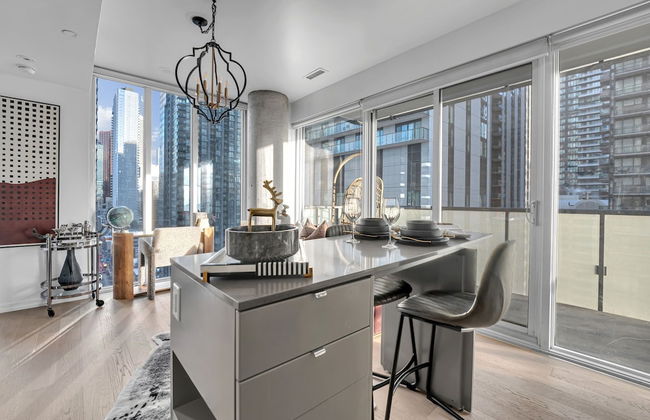
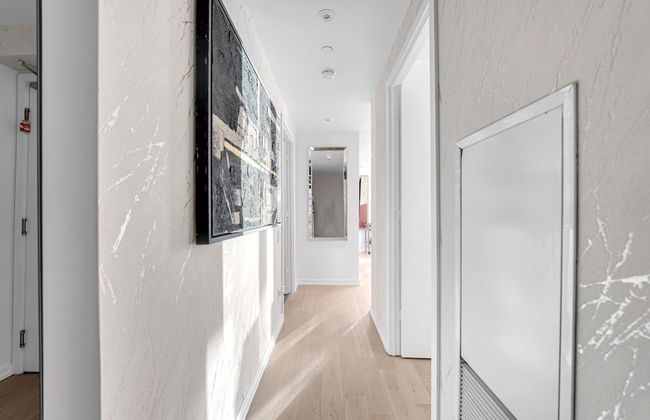
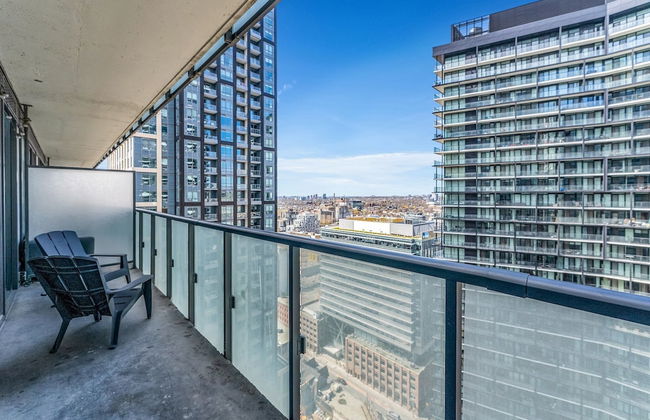
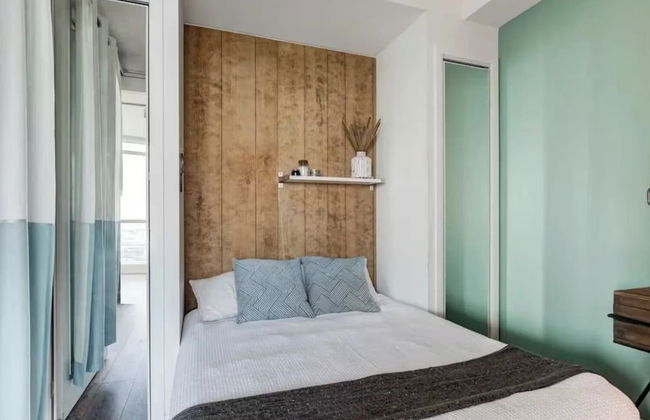
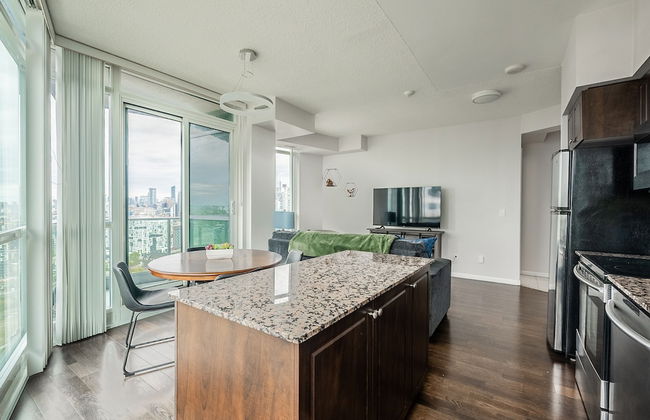
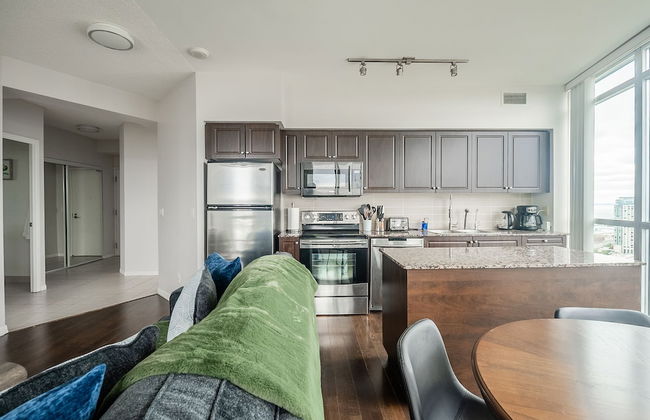
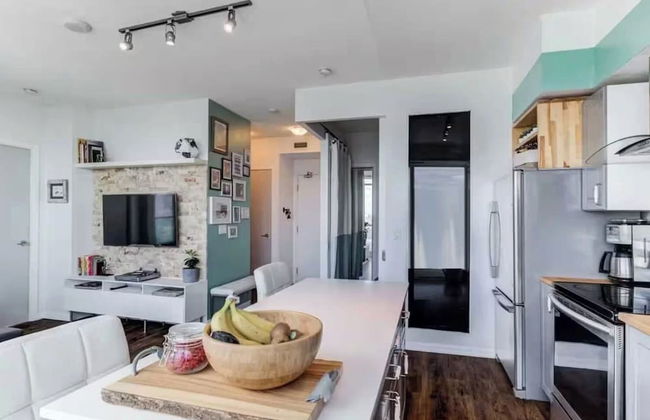
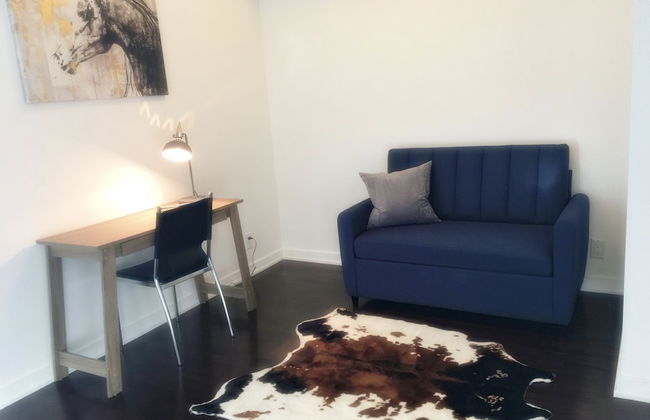
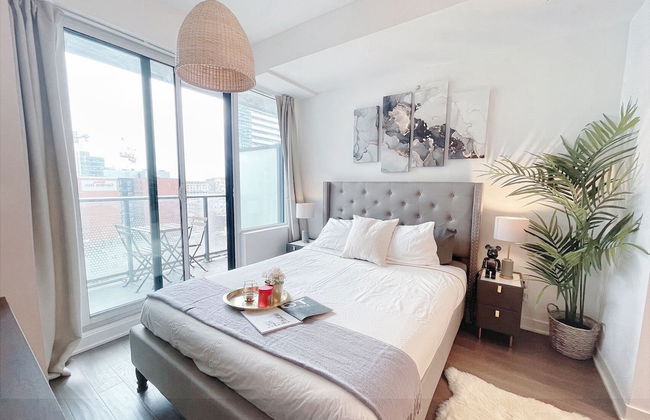
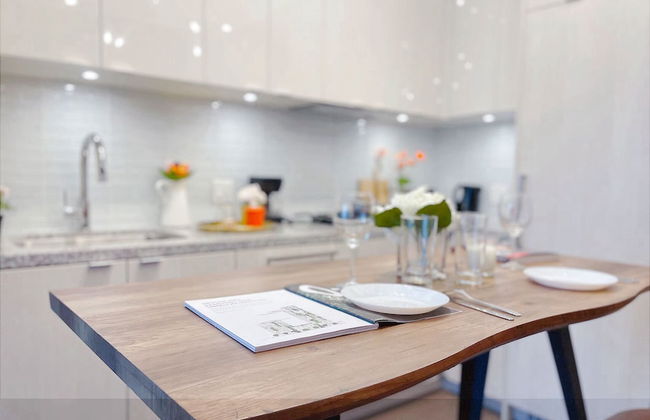
The Harbour Toronto
Toronto - Waterfront Communities-the Island - A 310 m del centro
- 111 M2
- 7 personas
- Cocina pequeña
- Aire acondicionado
- Calefacción
- Piscina
- Parking
- Ascensor
- Balcón
- Televisión
- Lavadora
- Toallas
- Sábanas


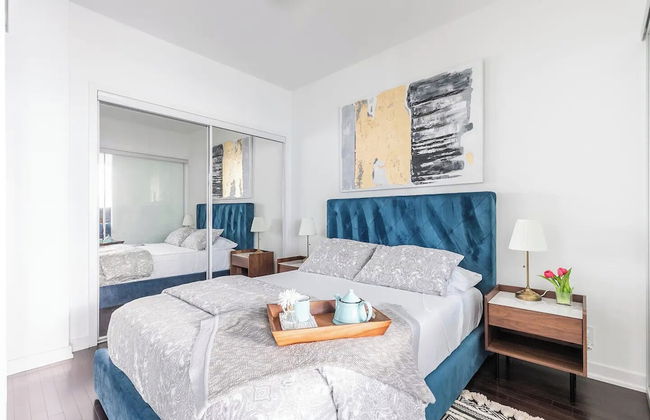
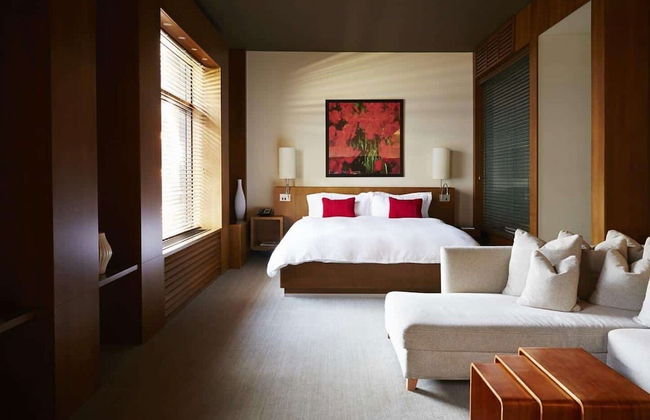
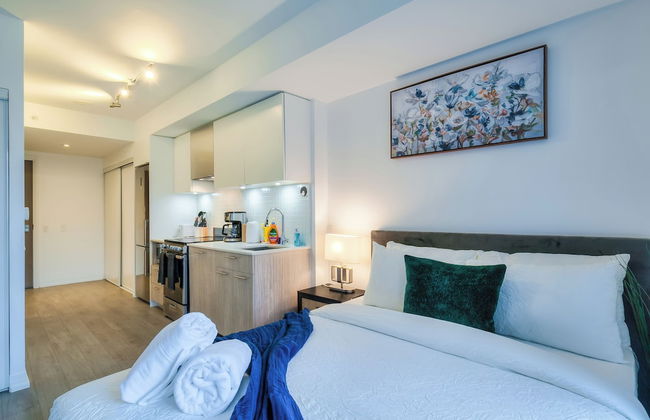
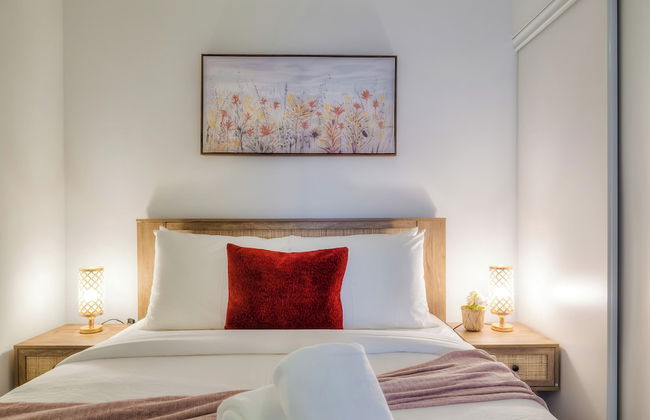
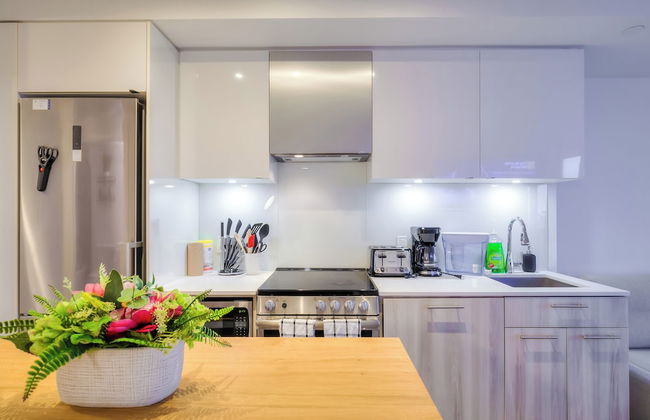
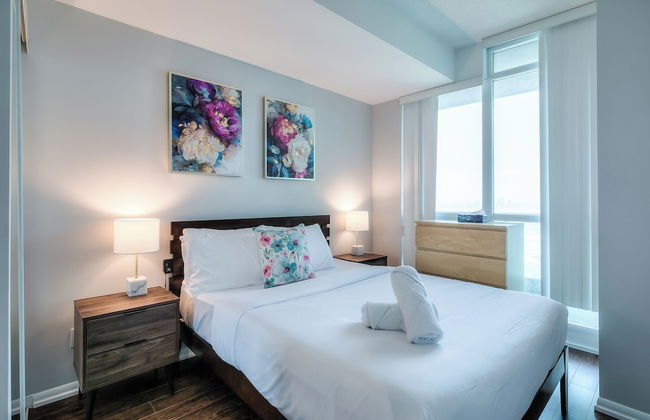
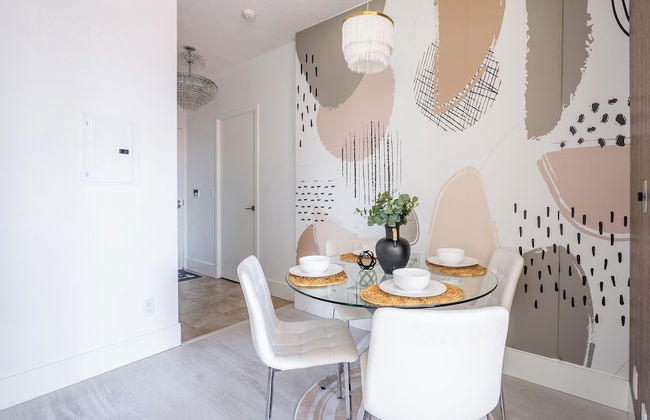
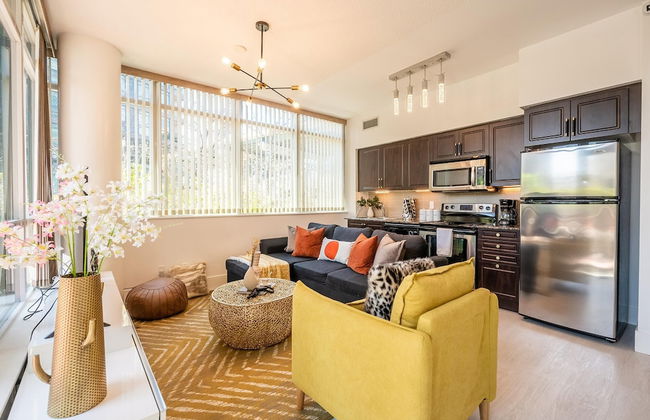
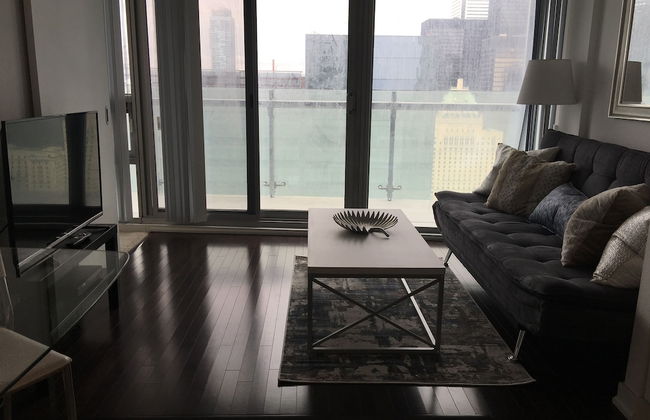
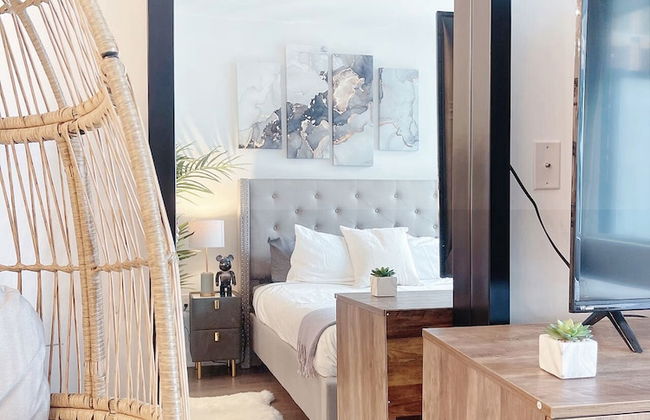
The Aurelien Luxe Collection
Toronto - Waterfront Communities-the Island - En el centro
- 74 M2
- 4 personas
- Cocina pequeña
- Aire acondicionado
- Calefacción
- Ascensor
- Televisión
- Toallas


Le Germain Hotel Toronto
Toronto - Waterfront Communities-the Island - En el centro
- 46 M2
- 3 personas
- Aire acondicionado
- Calefacción
- Terraza
- Ascensor
- Televisión
- Chimenea
- Toallas
- Sábanas


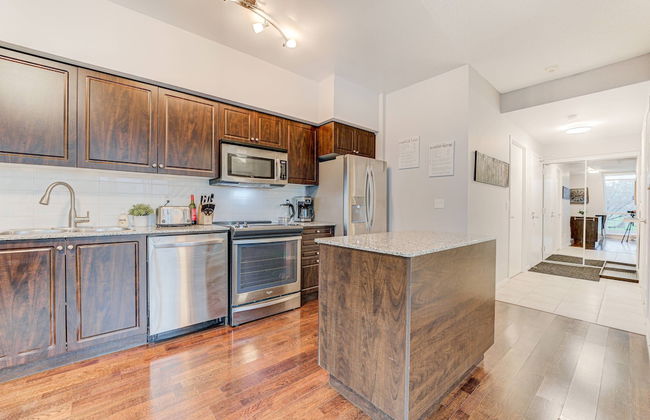
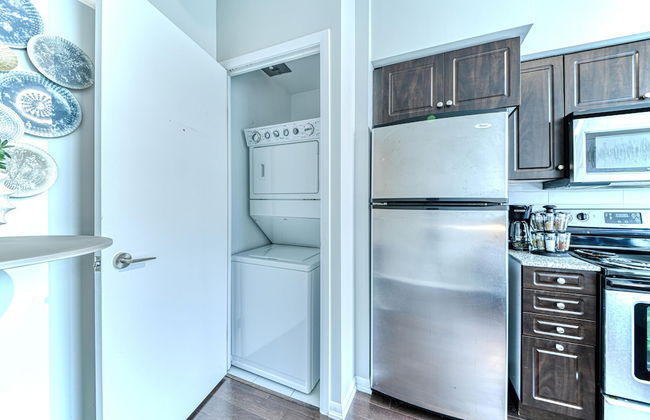
NAPA Furnished Suites & Apartments
Toronto - Waterfront Communities-the Island - A 350 m del centro
- 102 M2
- 6 personas
- Aire acondicionado
- Terraza
- Piscina
- Parking
- Ascensor
- Balcón
- Jardín
- Televisión
- Lavadora
- Toallas


Bellair Yorkville
Toronto - Annex - A 2 km del centro
- 93 M2
- 5 personas
- Aire acondicionado
- Calefacción
- Parking
- Ascensor
- Televisión
- Toallas
- Sábanas


The Westmores
Toronto - Moss Park - A 820 m del centro
- 8 personas
- Aire acondicionado
- Calefacción
- Terraza
- Parking
- Ascensor
- Balcón
- Jardín
- Televisión
- Lavadora
- Toallas
- Sábanas


Graydon Front Street
Toronto - Waterfront Communities-the Island - En el centro
- 186 M2
- 7 personas
- Cocina pequeña
- Aire acondicionado
- Calefacción
- Piscina
- Parking
- Ascensor
- Televisión
- Lavadora
- Toallas
- Sábanas


Bright Sub-Penthouse on Bay St
Toronto - Bay Street Corridor - A 1 km del centro
- 650 M2
- 5 personas
- Aire acondicionado
- Calefacción
- Terraza
- Piscina
- Parking
- Ascensor
- Balcón
- Televisión
- Lavadora


Platinum Suites - Luxury Penthouse
Toronto - Waterfront Communities-the Island - A 360 m del centro
- 55 M2
- 3 personas
- Aire acondicionado
- Piscina
- Balcón
- Televisión
- Chimenea
- Toallas


Le Germain Hotel Maple Leaf Square
Toronto - Waterfront Communities-the Island - A 250 m del centro
- 56 M2
- 4 personas
- Aire acondicionado
- Parking
- Ascensor
- Televisión
- Toallas
- Sábanas


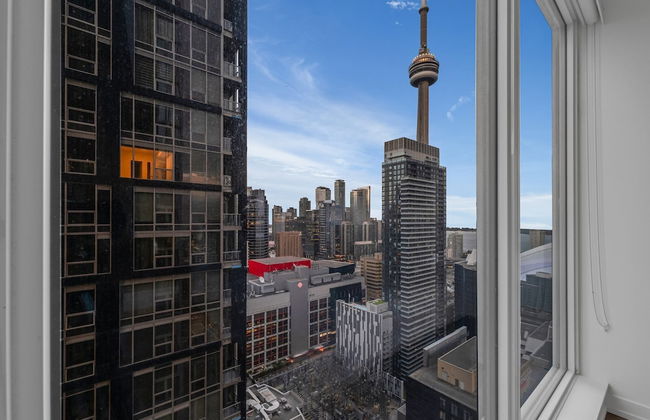
World Wide Stays Suite - CN Tower
Toronto - Waterfront Communities-the Island - En el centro
- 6 personas
- Aire acondicionado
- Calefacción
- Parking
- Ascensor
- Televisión
- Lavadora
- Toallas
- Sábanas


The Estate Entertainment District
Toronto - Waterfront Communities-the Island - En el centro
- 65 M2
- 4 personas
- Aire acondicionado
- Calefacción
- Parking
- Ascensor
- Balcón
- Televisión
- Lavadora
- Toallas
- Sábanas


Neptune Signature Stays
Toronto - Niagara - A 1.5 km del centro
- 7 personas
- Aire acondicionado
- Calefacción
- Parking
- Ascensor
- Televisión
- Lavadora
- Toallas
- Sábanas


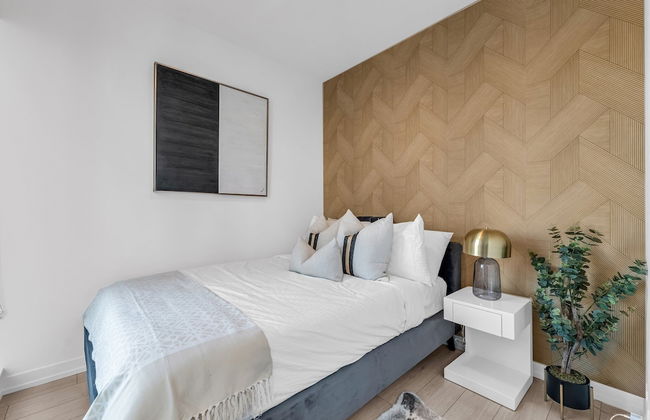
QuickStay - Premium 2bdrm in Yorkville (Yonge & Bloor)
Toronto - Annex - A 2 km del centro
- 1400 M2
- 4 personas
- Aire acondicionado
- Parking
- Televisión
- Lavadora
- Toallas


QuickStay - Premium 2bdrm in Yorkville (Yonge & Bloor)
Toronto - Annex - A 2 km del centro
- 1400 M2
- 4 personas
- Aire acondicionado
- Parking
- Televisión
- Lavadora
- Toallas


Condo in the sky with a breathtaking view
Toronto - Waterfront Communities-the Island - A 360 m del centro
- 557 M2
- 4 personas
- Aire acondicionado
- Calefacción
- Televisión
- Lavadora


TO Stays - York and Lakeshore
Toronto - Waterfront Communities-the Island - A 300 m del centro
- 65 M2
- 4 personas
- Aire acondicionado
- Parking
- Ascensor
- Balcón
- Televisión
- Toallas


Entertainment District Suites & Towers Toronto
Toronto - Waterfront Communities-the Island - En el centro
- 47 M2
- 2 personas
- Cocina pequeña
- Aire acondicionado
- Calefacción
- Ascensor
- Televisión
- Toallas
- Sábanas