


Hotel Perle
Nueva Orleans - Central Business District - A 510 m del centro
- 185 M2
- 7 habitaciones
- 14 personas
- Aire acondicionado
- Calefacción
- Terraza
- Piscina
- Parking
- Ascensor
- Jardín
- Televisión
- Lavadora
- Toallas
- Sábanas


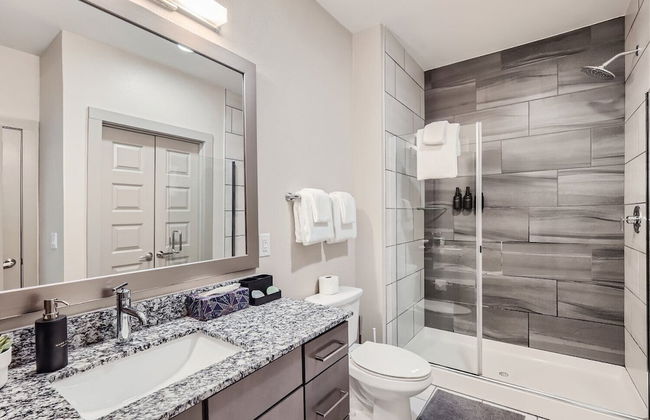
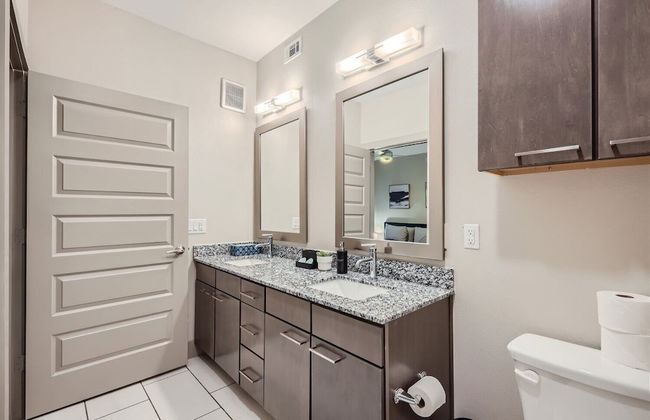
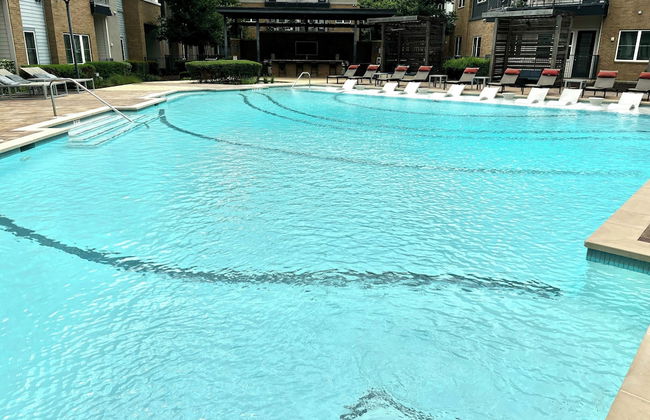

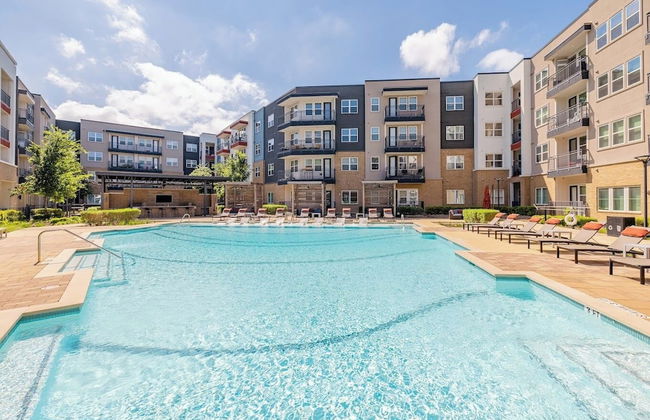

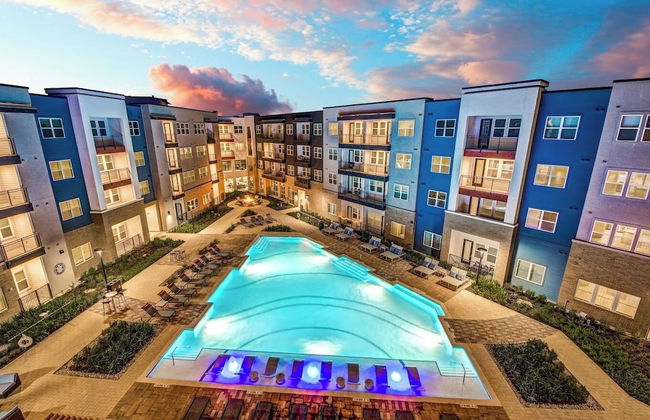
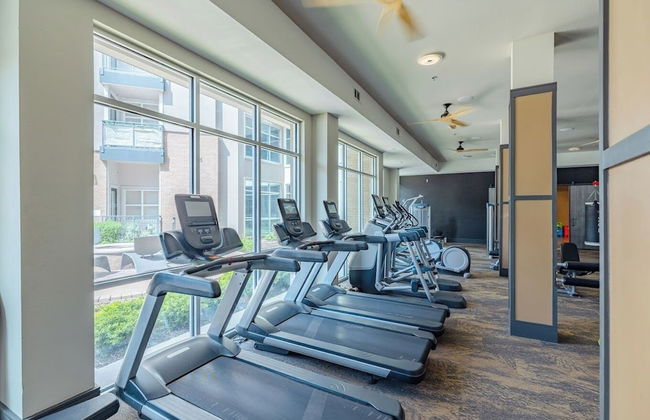

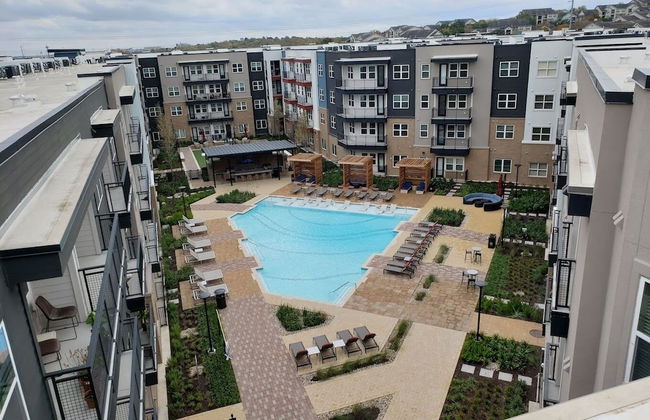

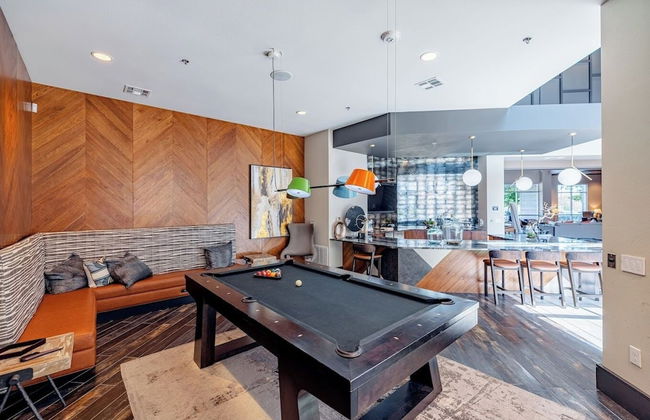


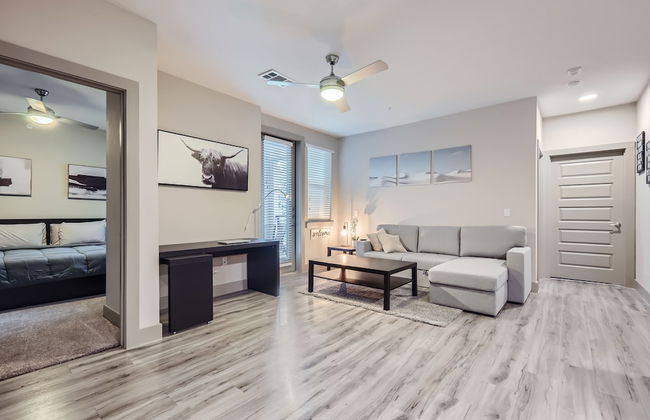


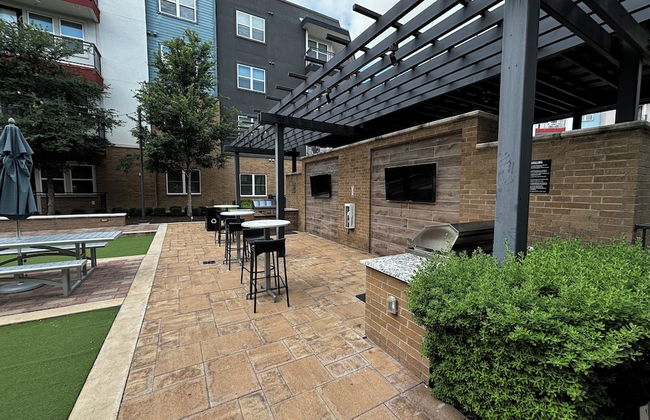

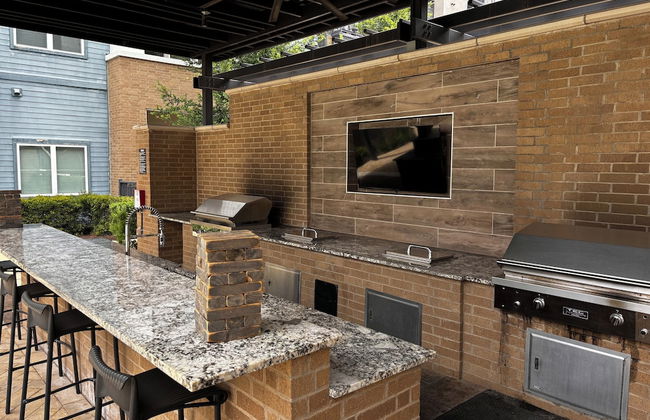
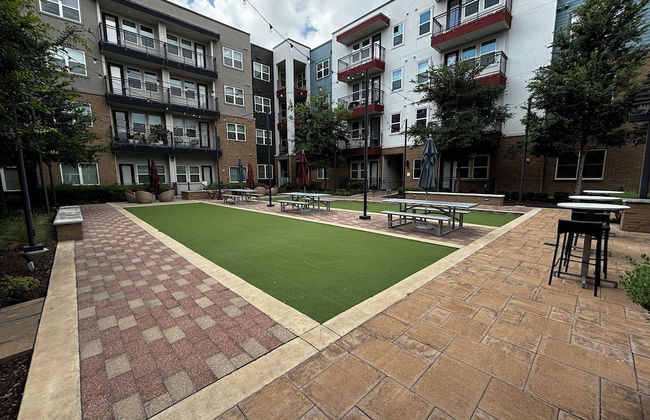
Best stay in Austin
Austin - Montropolis - A 5.4 km del centro
- 111 M2
- 6 personas
- Aire acondicionado
- Calefacción
- Terraza
- Piscina
- Parking
- Ascensor
- Jardín
- Televisión
- Lavadora
- Barbacoa
- Toallas
- Sábanas


Hyatus Luxury Residences Stamford
Stamford - Downtown Stamford - En el centro
- 72 M2
- 1 habitación
- 5 personas
- Cocina pequeña
- Aire acondicionado
- Calefacción
- Terraza
- Piscina
- Parking
- Ascensor
- Jardín
- Televisión
- Lavadora
- Chimenea
- Barbacoa
- Toallas
- Sábanas

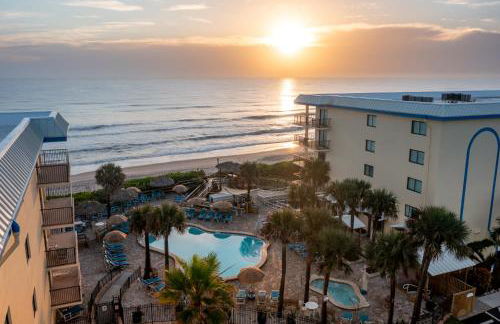

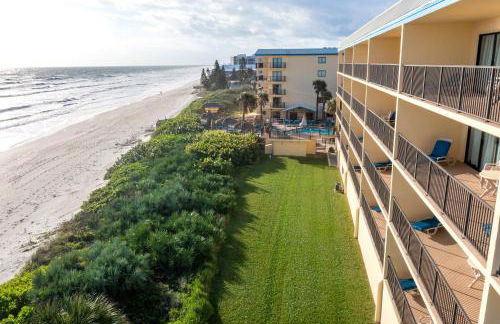

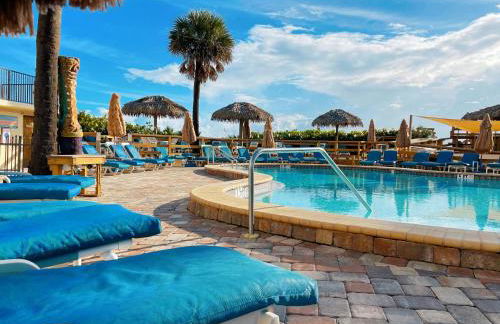

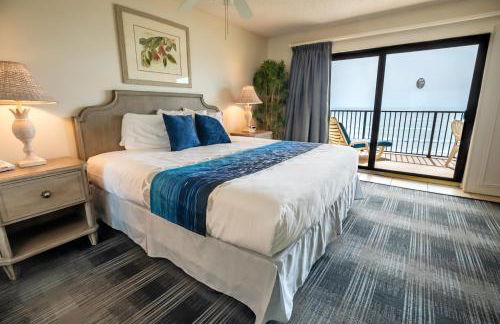

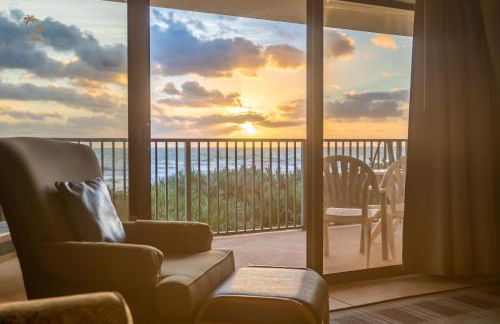


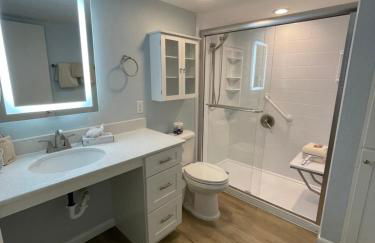

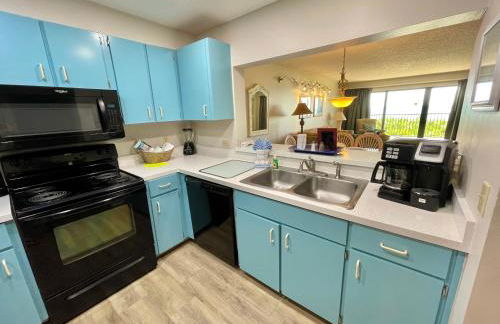

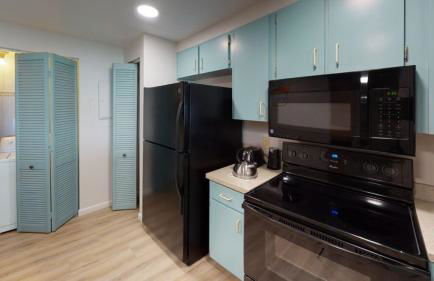


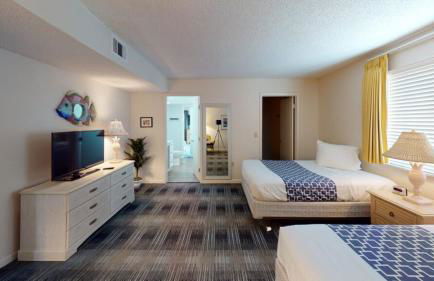

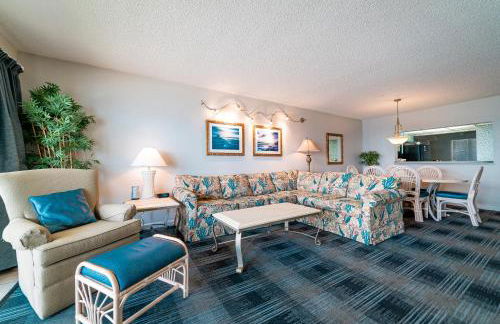

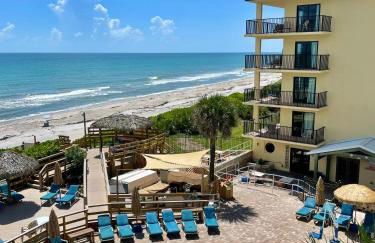


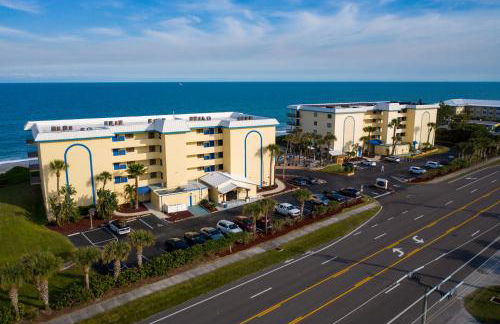


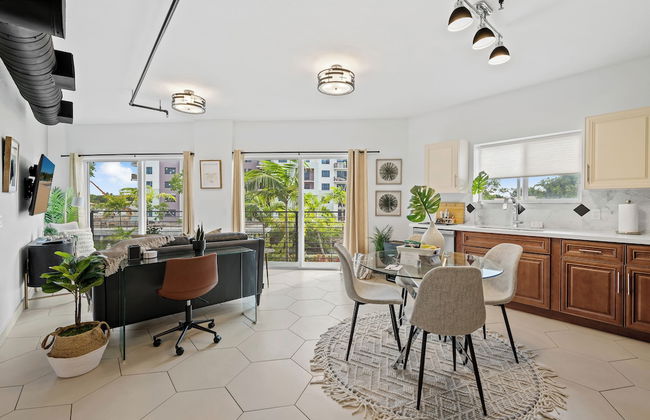
Las Olas Beach Club of Satellite Beach
Satellite Beach
- 130 M2
- 2 habitaciones
- 6 personas
- Aire acondicionado
- Calefacción
- Terraza
- Piscina
- Parking
- Ascensor
- Balcón
- Jardín
- Televisión
- Lavadora
- Barbacoa
- Toallas
- Sábanas


McGregor and Main Luxury Lofts
Hill City
- 242 M2
- 4 habitaciones
- 12 personas
- Cocina pequeña
- Aire acondicionado
- Calefacción
- Terraza
- Parking
- Ascensor
- Jardín
- Televisión
- Toallas


Handsboro Pointe Condo & Suites
Gulfport - A 6.1 km del centro
- 6 personas
- Aire acondicionado
- Calefacción
- Piscina
- Parking
- Ascensor
- Televisión
- Toallas
- Sábanas
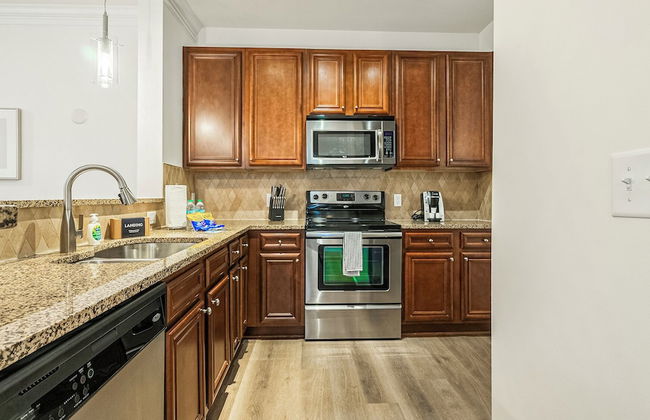
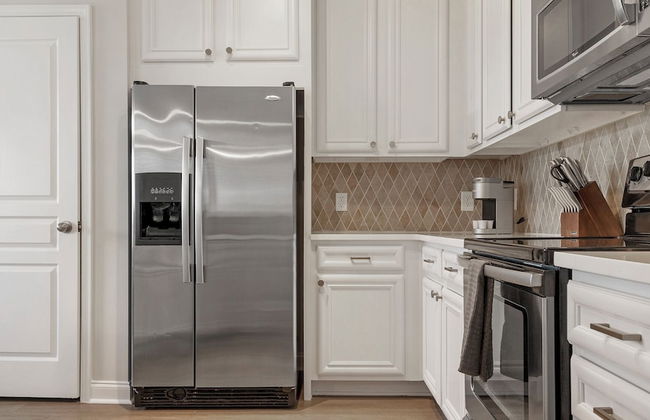


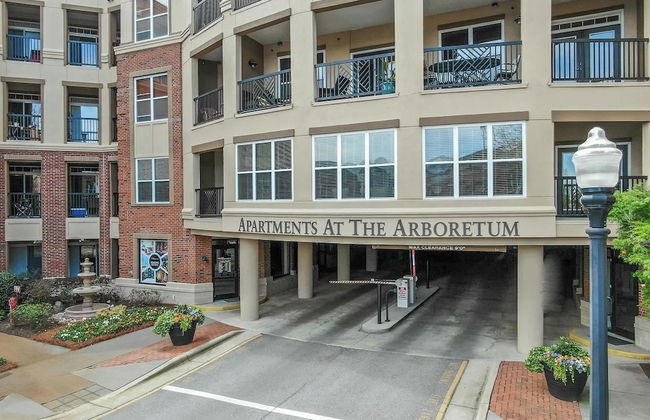

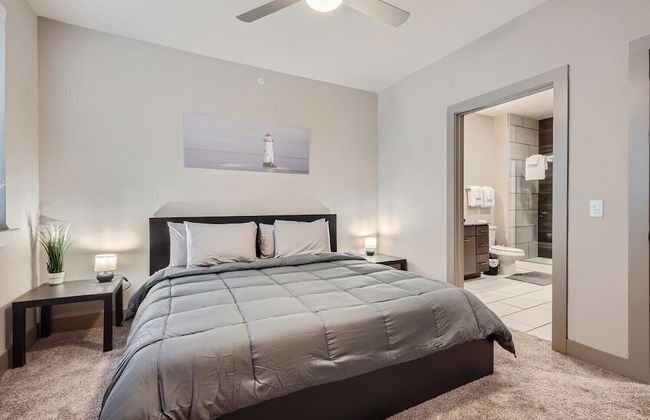
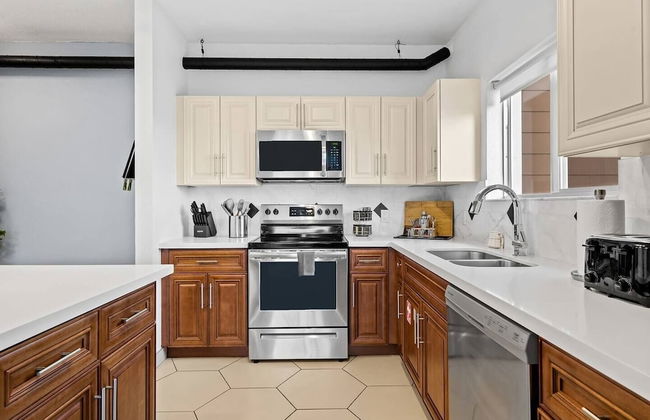
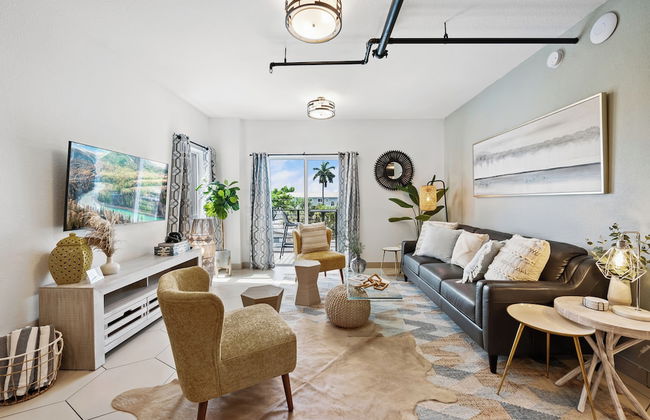
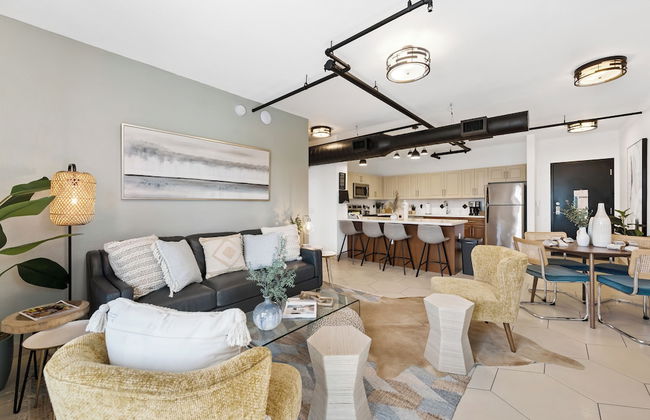
Cary Apartments by Landing
Cary - The Arboretum - A 3.7 km del centro
- 108 M2
- 4 personas
- Aire acondicionado
- Calefacción
- Piscina
- Parking
- Ascensor
- Televisión
- Lavadora
- Chimenea
- Barbacoa
- Toallas
- Sábanas


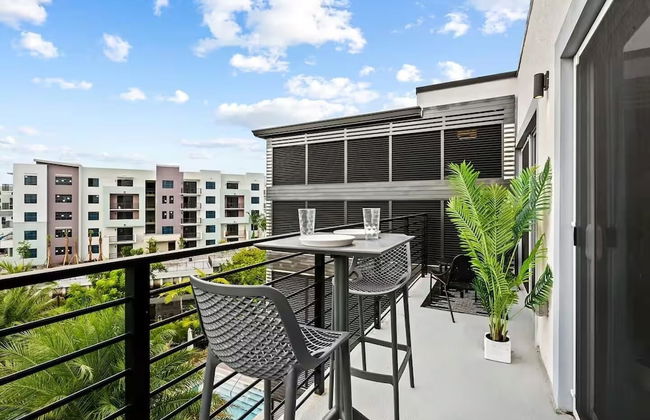
Vista Cay Commons by OVH360
Orlando - A 13.5 km del centro
- 130 M2
- 6 personas
- Aire acondicionado
- Calefacción
- Piscina
- Parking
- Ascensor
- Balcón
- Televisión
- Lavadora
- Toallas
- Sábanas


Memoir Wedgewood Houston
Nashville - South Nashville - A 2.2 km del centro
- 46 M2
- 2 personas
- Aire acondicionado
- Calefacción
- Piscina
- Parking
- Ascensor
- Televisión
- Lavadora
- Chimenea
- Barbacoa
- Toallas
- Sábanas


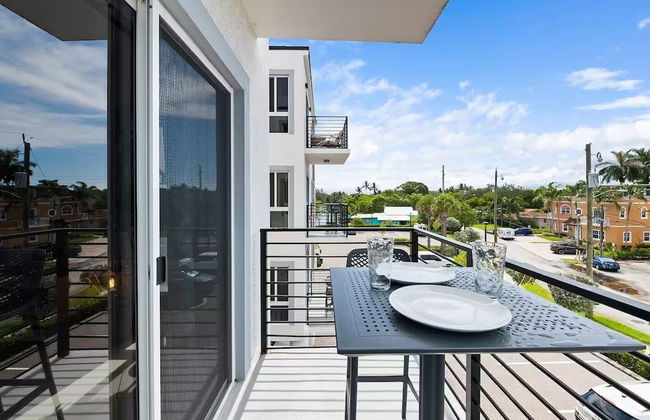

Wilton River Suites (Adults Only)
Fort Lauderdale - A 4 km del centro
- 107 M2
- 4 personas
- Aire acondicionado
- Calefacción
- Piscina
- Parking
- Ascensor
- Balcón
- Jardín
- Televisión
- Lavadora
- Barbacoa
- Toallas
- Sábanas


Lift by All Seasons Resort Lodging
Pk City - A 6.4 km del centro
- 8 personas
- Aire acondicionado
- Calefacción
- Piscina
- Parking
- Ascensor
- Balcón
- Televisión
- Lavadora
- Chimenea
- Barbacoa
- Toallas
- Sábanas
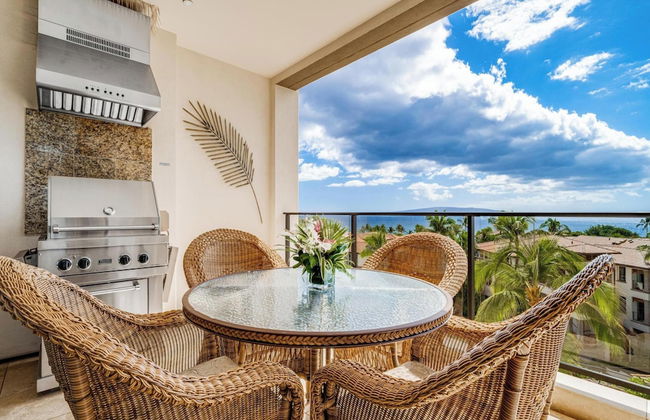


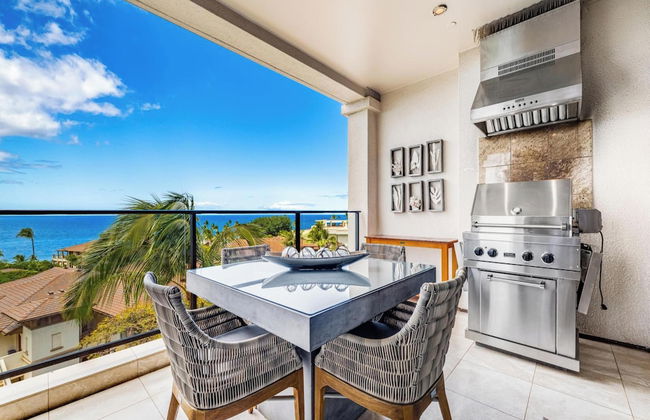


Wailea Beach Villas
Kihei - Wailea - A 10.5 km del centro
- 8 personas
- Aire acondicionado
- Terraza
- Piscina
- Parking
- Ascensor
- Jardín
- Televisión
- Lavadora
- Barbacoa
- Toallas
- Sábanas


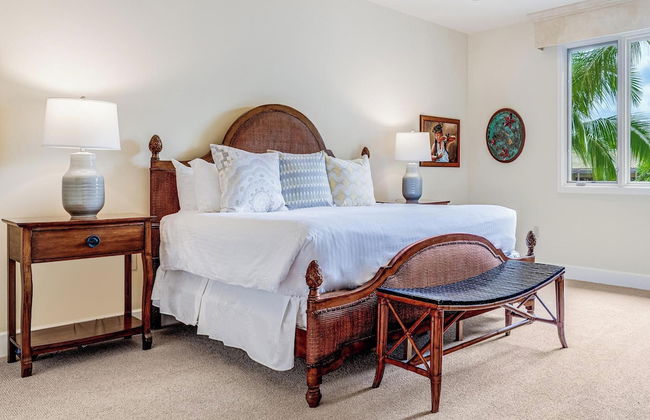
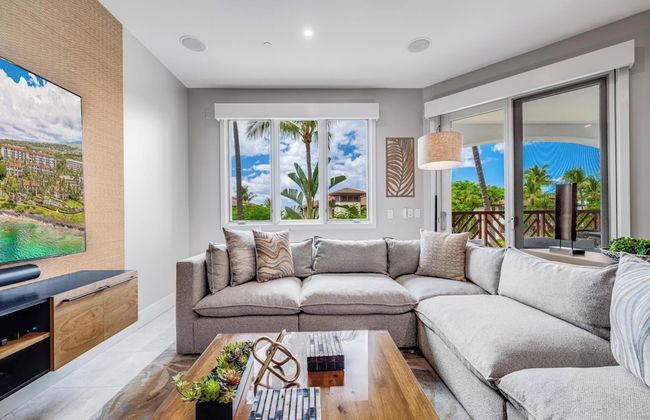
Timbers Kauai Ocean Club & Residences
Lihue - Lihue - A 2.6 km del centro
- 8 personas
- Aire acondicionado
- Terraza
- Piscina
- Parking
- Ascensor
- Jardín
- Televisión
- Lavadora
- Barbacoa
- Toallas
- Sábanas


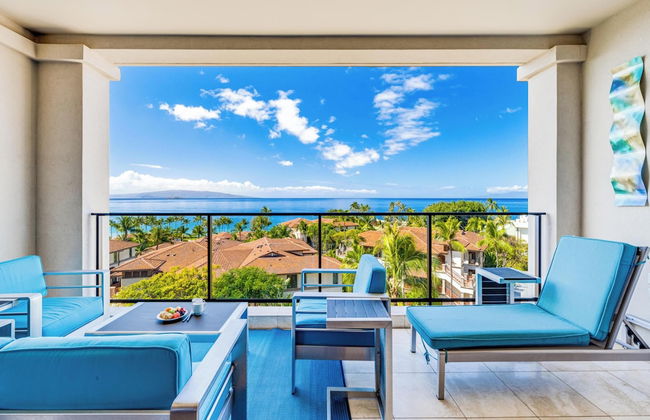
Modern & Polished Oceanfront Vistas
Kihei - Kihei - A 2.1 km del centro
- 56 M2
- 1 habitación
- 4 personas
- Aire acondicionado
- Terraza
- Piscina
- Parking
- Ascensor
- Balcón
- Jardín
- Televisión
- Lavadora
- Barbacoa
- Toallas
- Sábanas


The Berkman
Rochester - Folwell - A 1.5 km del centro
- 8 personas
- Aire acondicionado
- Calefacción
- Terraza
- Piscina
- Parking
- Ascensor
- Balcón
- Televisión
- Lavadora
- Chimenea
- Barbacoa
- Toallas
- Sábanas

Oceans RV Resort
Holly Ridge
- 6 personas
- Aire acondicionado
- Terraza
- Piscina
- Parking
- Jardín
- Televisión
- Barbacoa
- Toallas
- Sábanas


Sea Spray Condo
Hampton
- 557 M2
- 4 personas
- Aire acondicionado
- Calefacción
- Terraza
- Parking
- Ascensor
- Balcón
- Televisión
- Lavadora
- Toallas
- Sábanas


Log Cabin for Family Glamping Vacation near San Antonio
Pipe Creek
- 46 M2
- 1 habitación
- 4 personas
- Aire acondicionado
- Calefacción
- Terraza
- Piscina
- Parking
- Jardín
- Televisión
- Chimenea
- Barbacoa
- Toallas
- Sábanas


Y.O. Ranch Headquarters
Mountain Home
- 204 M2
- 8 personas
- Aire acondicionado
- Calefacción
- Terraza
- Piscina
- Parking
- Jardín
- Televisión
- Chimenea
- Barbacoa
- Toallas
- Sábanas


Sabine Yacht & Racquet by Southern Vacation Rentals
Gulf Breeze - Villa Sabine
- 120 M2
- 2 habitaciones
- 6 personas
- Aire acondicionado
- Calefacción
- Piscina
- Parking
- Ascensor
- Balcón
- Televisión
- Lavadora
- Toallas
- Sábanas
Déjese llevar por el estilo de vida norteamericano y disfrute de costa a costa de las grandes ciudades y pequeños pueblos que forman los Estados Unidos. Este enorme territorio está lleno de maravillas que asombrarán al turista, como los altos edificios de Nueva York, los monumentos de la capital, la urbe cinematográfica de Los Ángeles, el Golden Gate de San Francisco y en el interior, los picos más altos de las montañas rocosas del Colorado. Todo ello y mucho más ofrece este país siempre dispuesto a sorprender a los visitantes.